How to Repair Knitting Mistakes in Ribbed Stitches
Ribbing is very easy and the k2, p2 rib was probably one of the 1st things you learned as a knitter. You'll see this stitch pattern crop up in hats, mitts, scarf, you name it.
If ribbing is so easy, why do we all make ribbing mistakes?
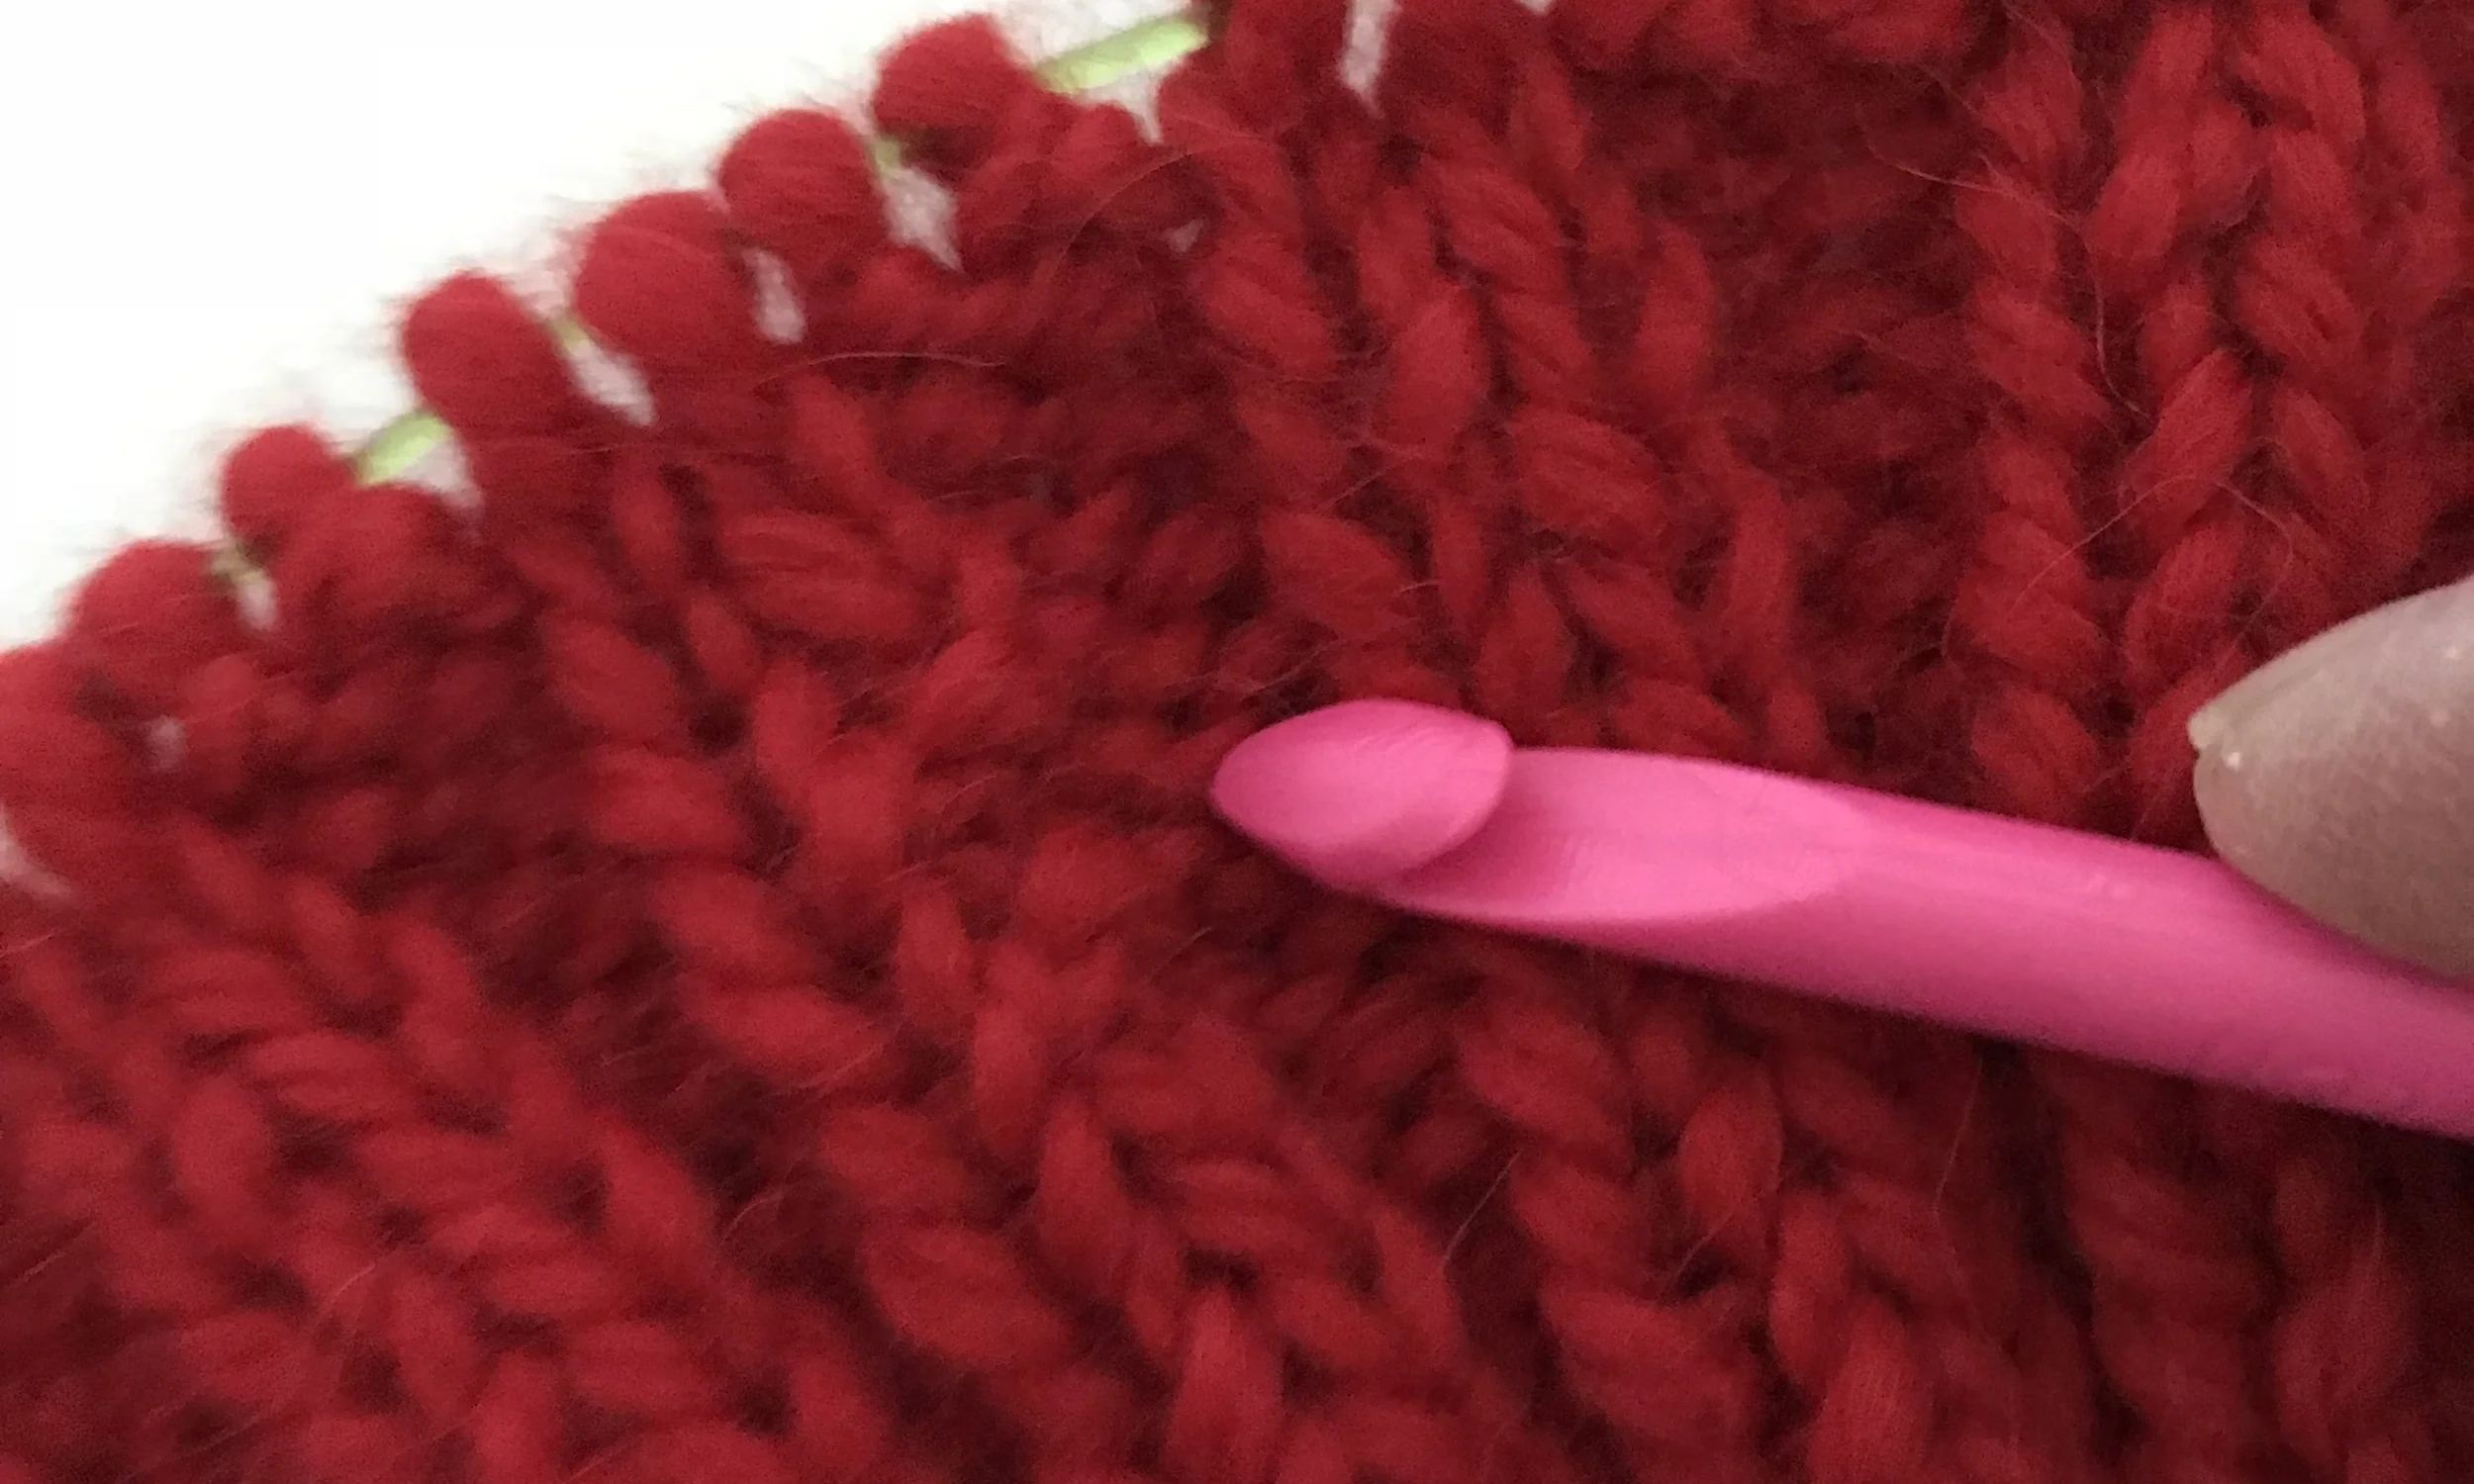
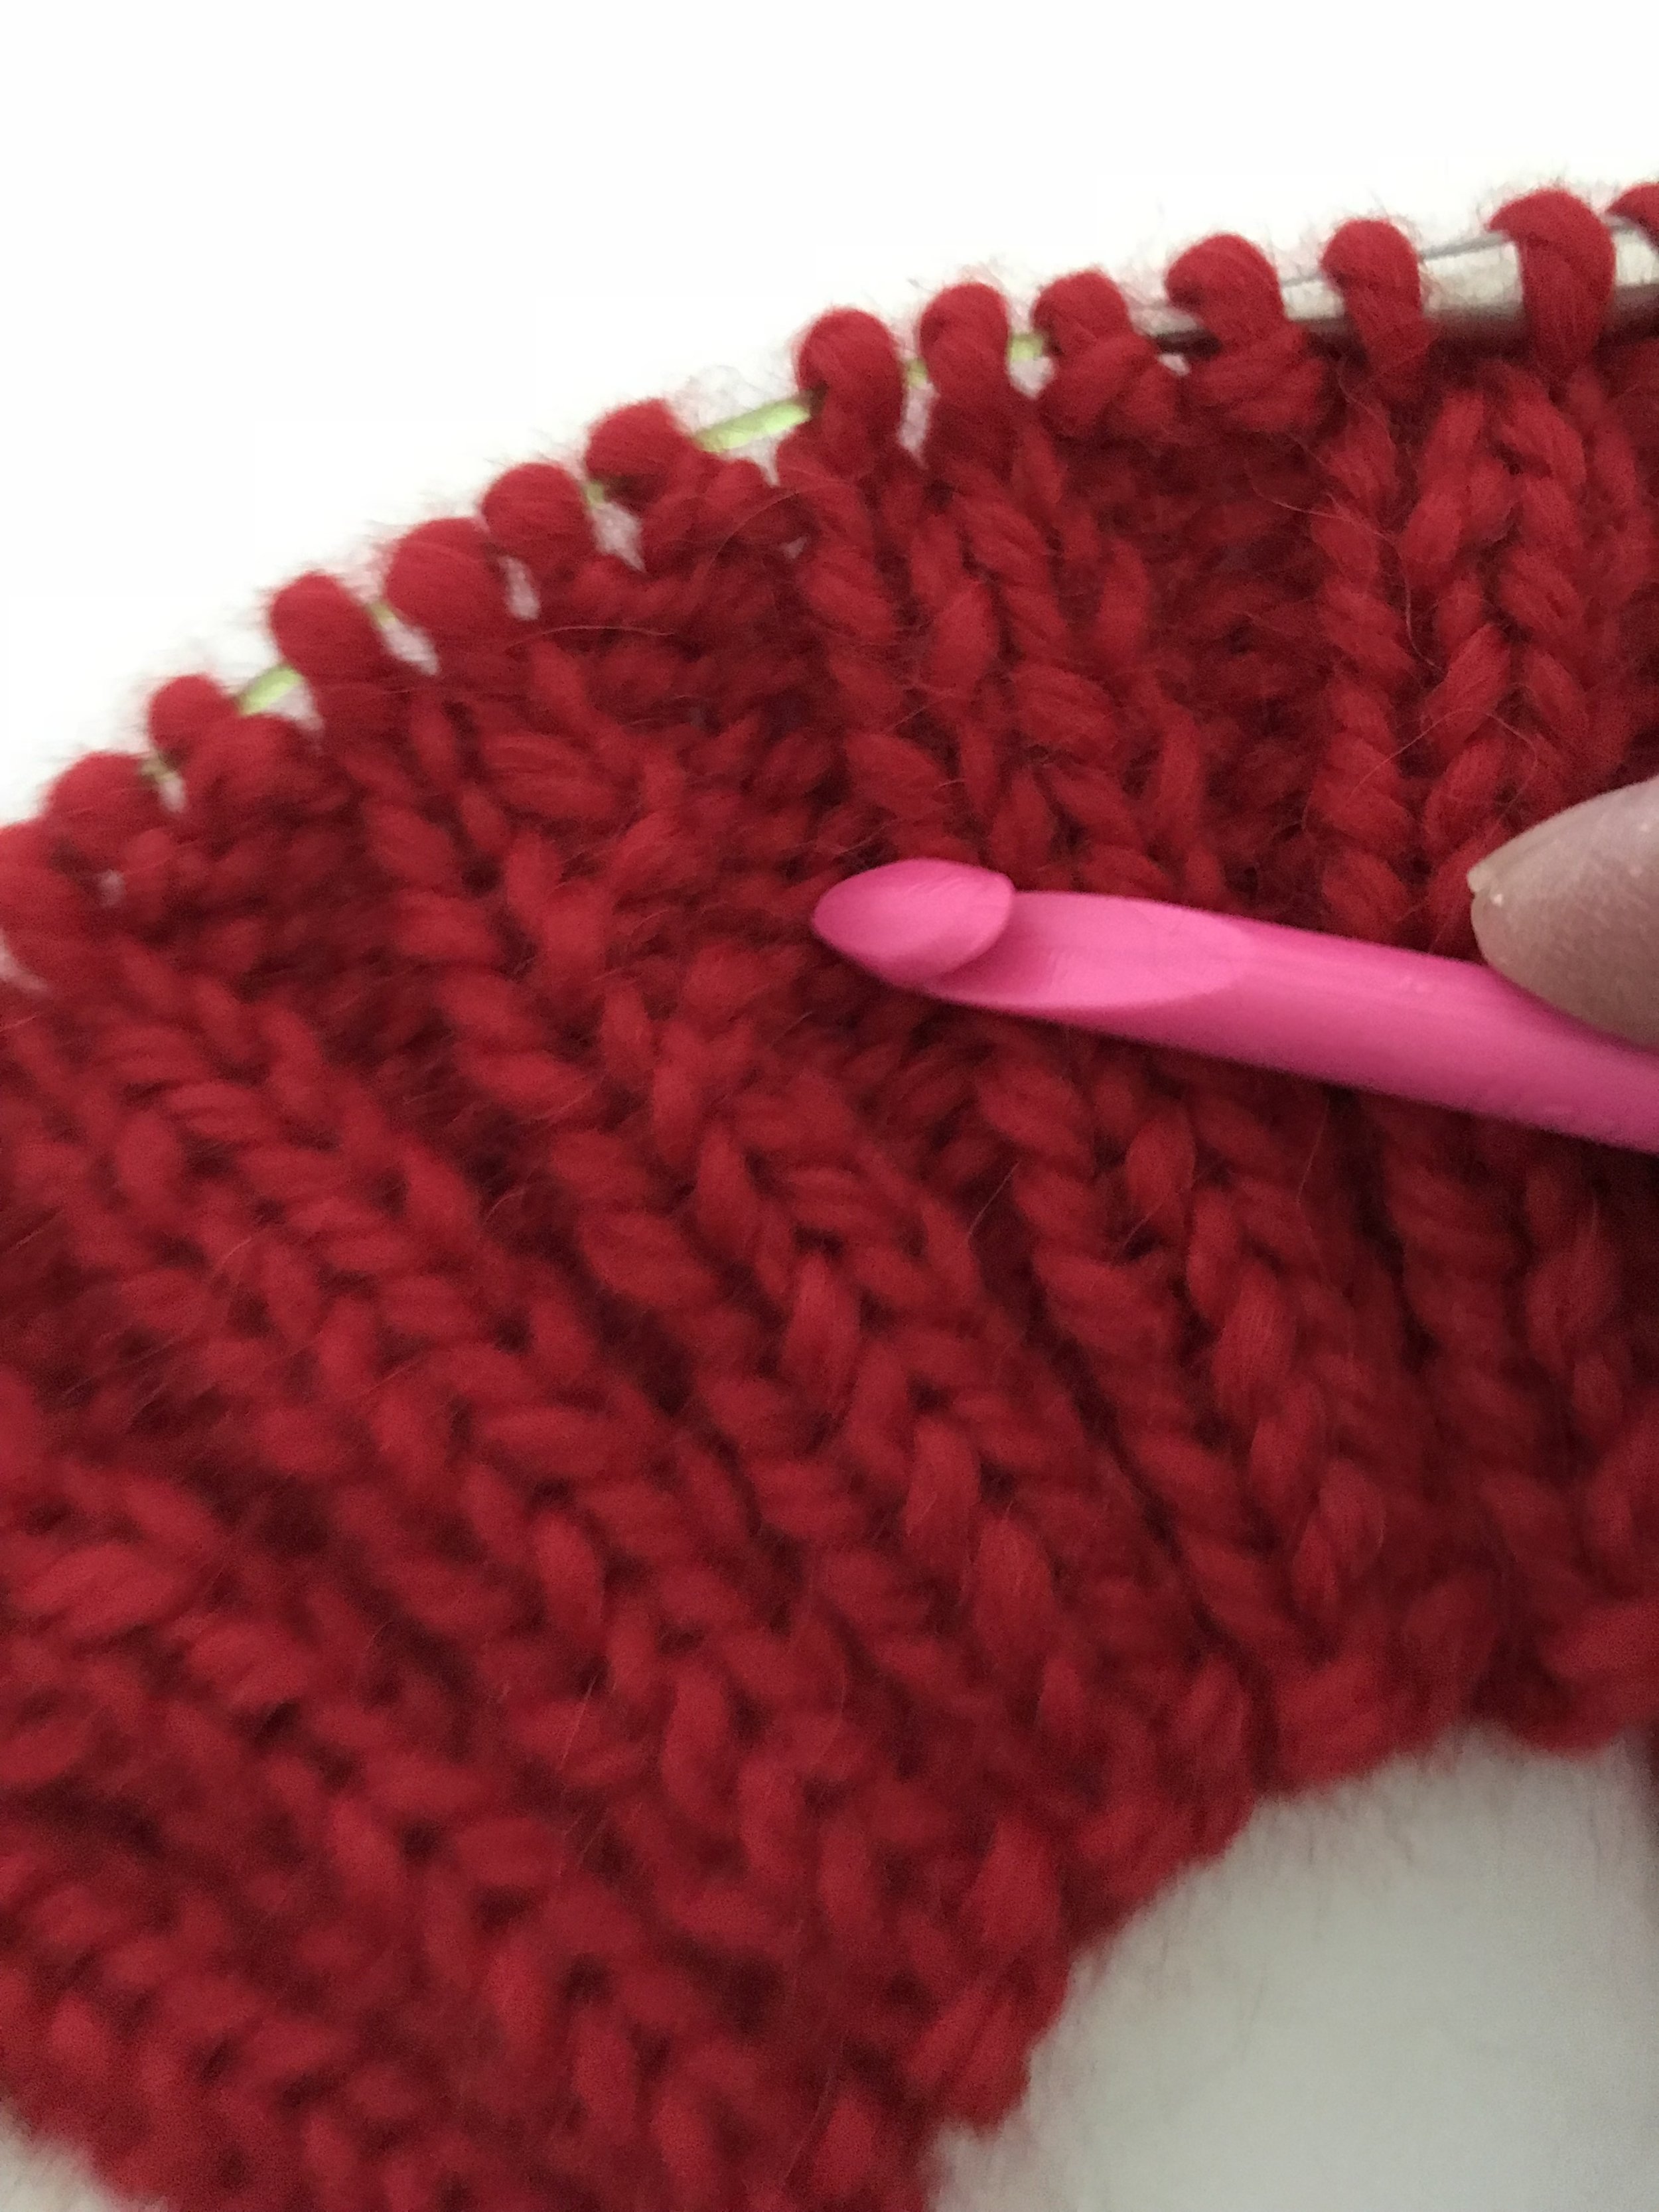
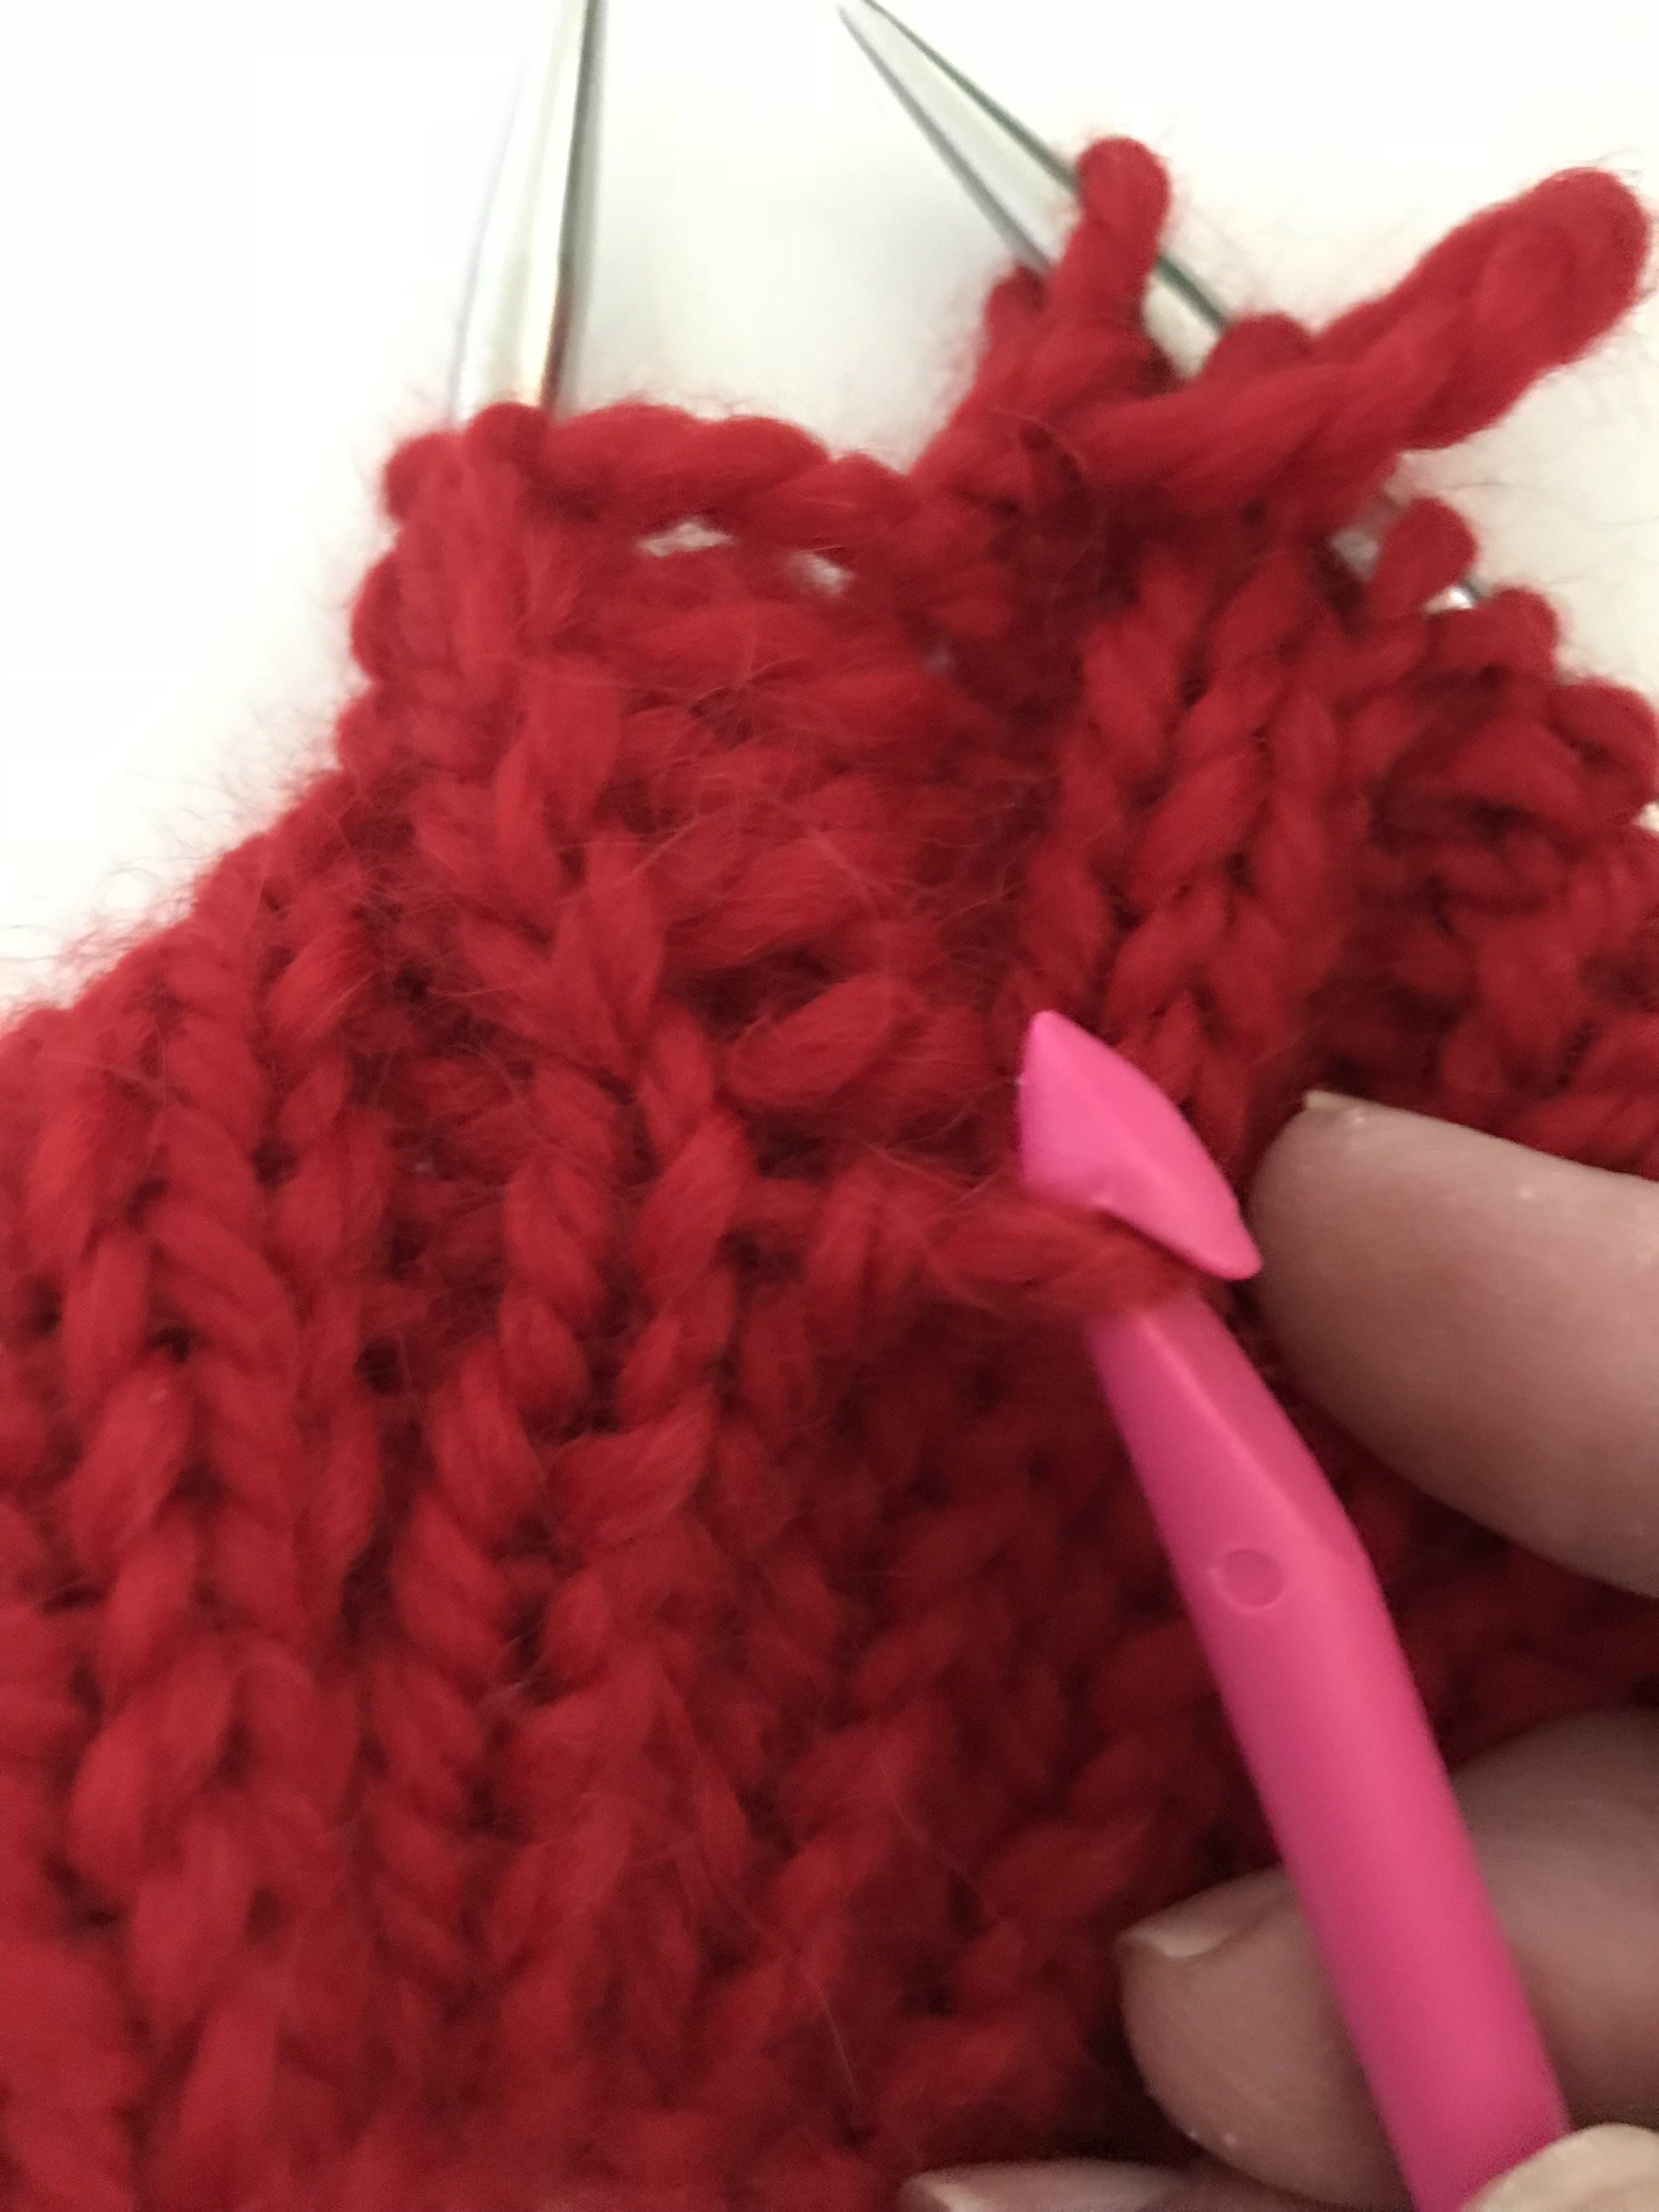
I think it's probably because it is so simple we just go on auto pilot and knit away; purling where we should have knit and vice versa. Sticks out like a sore thumb doesn't it. Take a look at the image above to see what I mean.
Knitting Mistake Options
Now you've seen your knitting mistake, what to do? Here are your options:
Option 1: Rip back all the way to the mistake, ugh!
Option 2: Convince yourself that you'll never notice it (oh, but you will)!
Option 3: How about a painless way to correct these errant stitches without ripping back row after row? Repair a knitting mistake (hint: choose this option!)
How to Repair Mistake in Ribbing
Step 1: Knit Side: Locate the mis-worked stitch. In the image above you'll see I have a couple of "purls" that should have been "knits".
Follow those stitches upward until you locate the corresponding live stitch on the needle and work up to that stitch.
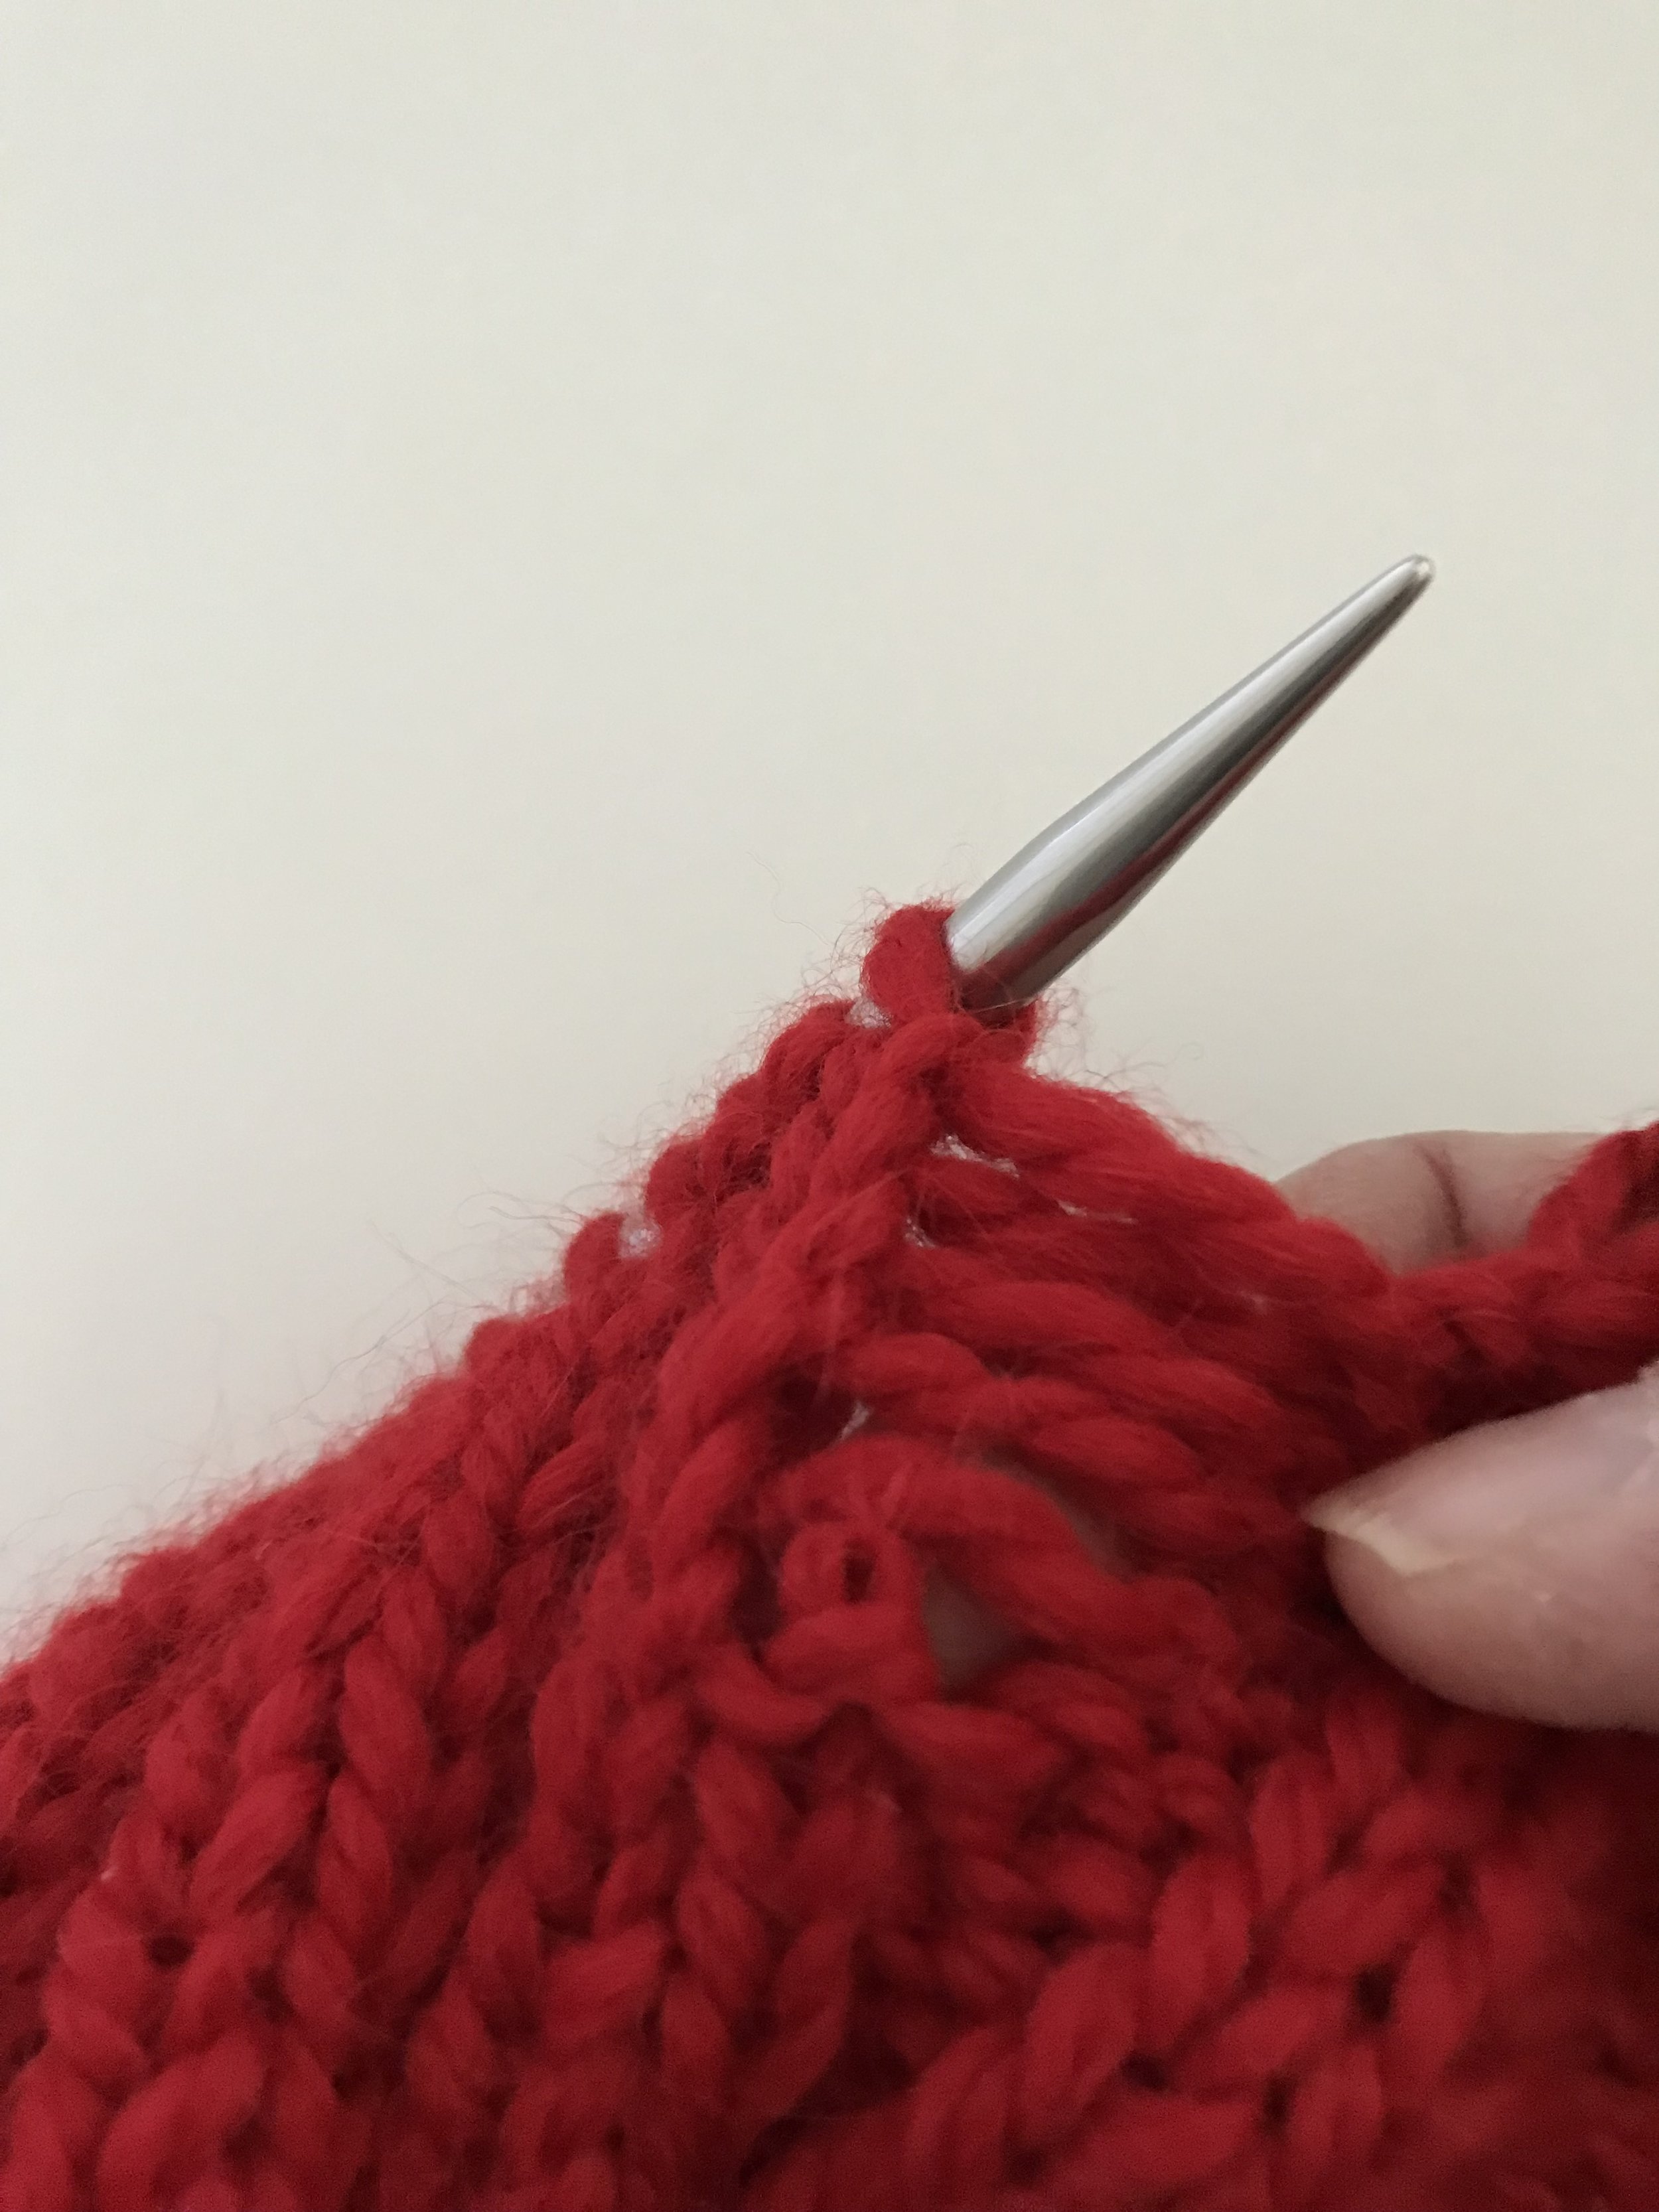
Step 2: Drop that corresponding live stitch and let it ladder down to the row before the error.
Step 3: Notice the horizontal bars that were left behind when we dropped this stitch. We'll use those bars to ladder the stitch all the way back up to the needle.
Using a stitch repair tool, crochet hook, or the needle tip - insert your tool into the dropped loop and then snag the horizontal bar and pull it thru the loop.
Step 4: Repeat this (snagging the ladder and pulling it thru) working upwards toward the needle until you are ready to re-seat the stitch on the needle.
Re-seat stitch. Rib repaired!
If working this repair on the Purl Side: Exactly the same steps except you will turn your work and work it as a knit repair on the wrong side.
Easy!
P.S. This is also a handy trick to re-work any loose or mis-shapen stitches or dropped stitches!

