
How-to Seam in Garter Stitch

Learning to join seams with a clean edge can add a polished and professional finish to your completed knitting project. Here's how-to join garter stitch (knit every row) panels in just a few easy steps!


Step 1: Thread the needle with the yarn you are using to seam (if you leave yourself a long enough tail when casting-on you can use that strand).
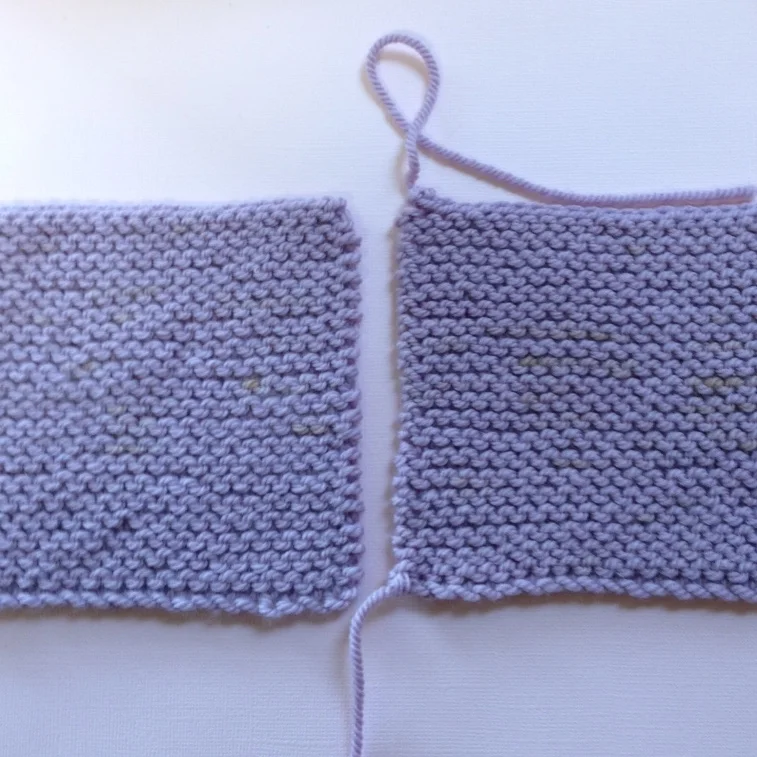
Step 2: Place pieces to be seamed side by side - right sides up. Using a flat surface to support your pieces works best.
Step 3: Insert the needle from back to front into the corner stitch of the piece without the tail.
Step 4: Insert the needle from back to front into the stitch with the cast-on tail. Pull yarn gently to pull edges together.


Step 5: Now from back to front, insert the needle into the stitch on the piece without the tail (right back where you started). Again pull yarn gently to draw the edges together and lock the 1st stitch.
Each garter ridge ( which is made by knitting one row on the right side and knitting a row on the wrong side ) is composed of a top and bottom loop (shown image above, right).


Step 6: Starting on the left side, begin seaming by catching the bottom loop of the edge stitch on the ridge, (shown image above, left ) and draw the yarn through.
Step 7: Move to the opposite piece and catch the top loop on the ridge. Draw your yarn through.
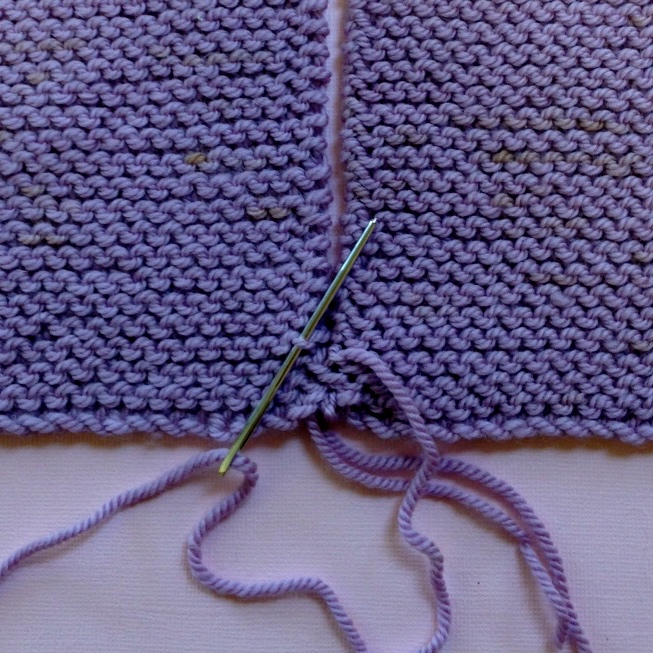


Step 8: Continue alternating sides until you reach the top of the piece, then fasten off.
As you progress through the seaming, occasionally stretch your piece to make sure your seaming is not too tight which will cause your project to pucker. The second image (above) will also show what the seam looks like from the front when properly done. And the third image shows what your seam will look like from the back.


