Left Handed Knitting In the Round Video
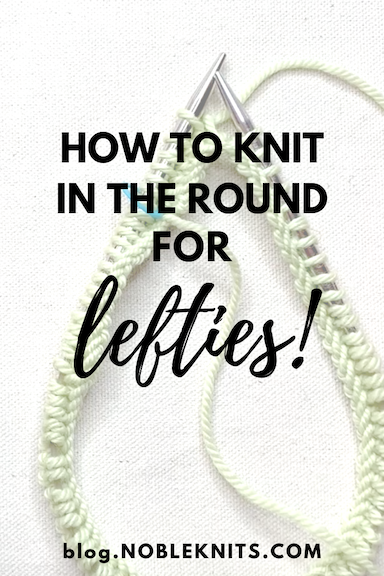
Hey fellow Southpaws! Have you been wanting to learn how to knit in the round, but you aren’t sure where to start? Then this blog post is for you!
You’ll learn how to knit in the round left handed. We’ll start with a long tail cast on, join yarn, place a stitch marker and knit the first few rounds together.
Let’s get started!
This video will guide you step by step through the entire process of knitting in the round for a left handed knitter.
You will need
Ewe Ewe Wooly Worsted Yarn in Soft Sage (or worsted weight yarn)
That's about what you would need for a hat, but in this case we're just learning how to knit in the round.
Left Handed Long Tail Cast On
I'm going to start with a long tail cast on.
I usually grab a length that's three to four times the length of the completed circumference.
For example, if the hat is 20 inches long, I usually start with a tail that is 60 to 80 inches long to get started.
We start by making a slip knot.
Then you're going to slide the slip knot on to the needle in your left hand. You are going to be working on to this needle. So the stitches will pile on this way.
Then, when we're ready to start knitting in the round, we'll start on this stitch over here and we'll knit from right to left instead of from left to right the way a right handed person would knit.
The long tail is going to be in the front and your skein of yarn will be in the back.
Begin by inserting your thumb and forefinger in-between the two strands of yarn.
Grab the yarn and then lean your hand back.
You're going to go under the thumb, over the finger and back like that.
I'm going to cast on probably 80 stitches.
I have 80 stitches on my needle and I have a little bit of a tail left.
So I'm just going to grab a pair of scissors and clip that to 4-6” so I have enough to weave in when I’m done.
I trim the tail because I don't want to accidentally pick up this long tail and start knitting with that.
I can tell you out of experience I've done that way too many times. So, I just cut the excess.
How to Join Round
A pattern will usually state, “join round being careful not to twist stitches.”
That's really important.
See how you have all the loops and then you have kind of this backbone here to all of your stitches? Make sure they are all facing the same direction.
If you happen to get a twist in your stitches like this, what will happen is you're going to create a moebius type cast on and its going to put a big loop in your entire project, so you don't want that.
Be sure the backbone is facing down and there's no twist whatsoever in your cast on.
Start Knitting in the Round
The first stitch that we cast on is the first stitch that we knit.
You're just going to kind of ease your stitches around and before you make the first stitch.
Before we start knitting, let’s place a stitch marker so that we know that is the beginning of the round.
Now we’ll start knitting.
Those first few stitches are always a little bit of a struggle, but once you get past them, you'll be sailing.
I never love the first round after a cast on, it's always a little bit of a fight.
But now you've created this join and you are knitting in the round!
So I'm going to get all the way around and show you what it looks like when you finish a round and you move to the next round.
A little about Knitting in the Round
When you're knitting in the round, you are always on the front of your work. The knit stitch is always what shows on this side.
When you turn it and look at the reverse, it's always going to be the purl side.
You don't have to knit one row purl one row to create stockinette stitch. When you are knitting in the round and you are just knitting, it's always creating stockinette stitch for you.
If you wanted to create garter stitch, you would have to do the reverse. You would have to knit one row purl one row to create that same effect.
It took me a long time to wrap my head around that concept but once you understand what the stitches are doing and that you are talking about the front and the back of the work it makes a big difference.
I'm knitting Continental style, I included how to do that in my last video.
I just hold the working yarn in my right hand and I allow the left hand needle to do all of the work. I kind of pick the yarn through rather than making the large loop. Instead of using the throw method, it's a lot more movement.
Here's the last stitch. What you'll notice is there's usually a little gap here between the first and last (stitches). You want to make sure that strand doesn't get twisted. It stays right there at the bottom. You don't want it to get jumbled up. It will go away.
So you will just move the stitch marker from one needle to the other and then continue knitting. As you knit that little strand will go away.
Then you have enough yarn here to weave in the yarn end when you are done.
That is how you knit in the round left handed.