Cable Cast On in 6 Easy Steps
How to Cable Cast On in 6 Easy Steps
There are hundreds of ways to cast on knitting. How do you know which one to choose? Well, if you have two or three methods in your knitting arsenal, it will allow you to create most projects with great finished results.
What is a cable cast on
Today we're going to show you how to do a cable cast on. This method is an elastic cast on which is nice and firm. It also gives gives you a pretty braided edge. It's a good cast on for a wide variety of projects such as sweaters, cowls, hats, shawls, and baby garments.
It's also a very helpful cast on to use if you need to add stitches in the middle of a project. For example, if you are knitting sweater, you may start at the bottom and work up to the sleeves and need to cast on sleeve stitches.
Please note: I have done this cast on using circular knitting needles due to the size of my project. You can just as easily do the cable cast on using straight knitting needles.
How To Do Cable Cast On
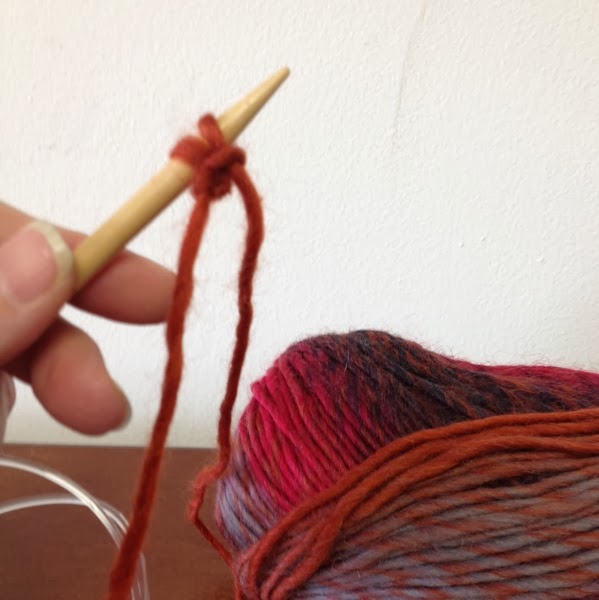
Step 1. Begin by making the usual slip knot (leaving enough of a tail to weave in later) and cast on one more stitch using any cast on method.
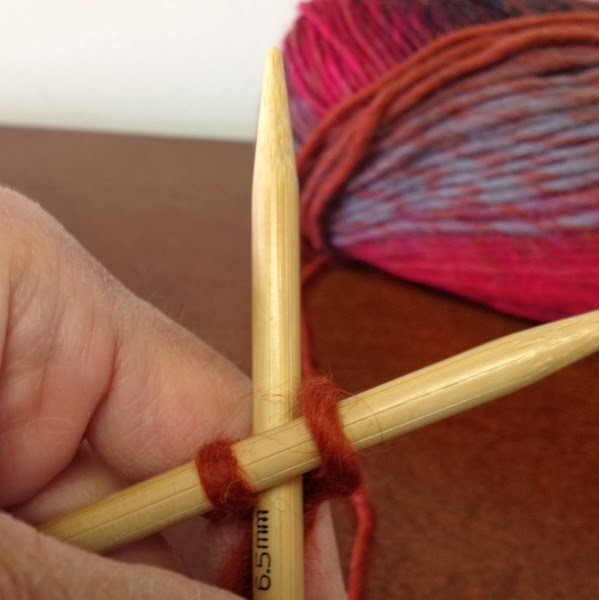
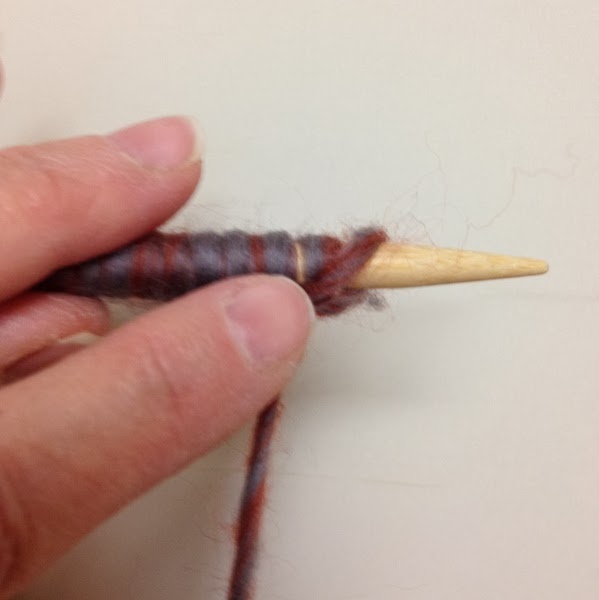
Step 2. Insert the tip of the right hand needle between your slip knot stitch and your first cast on stitch.
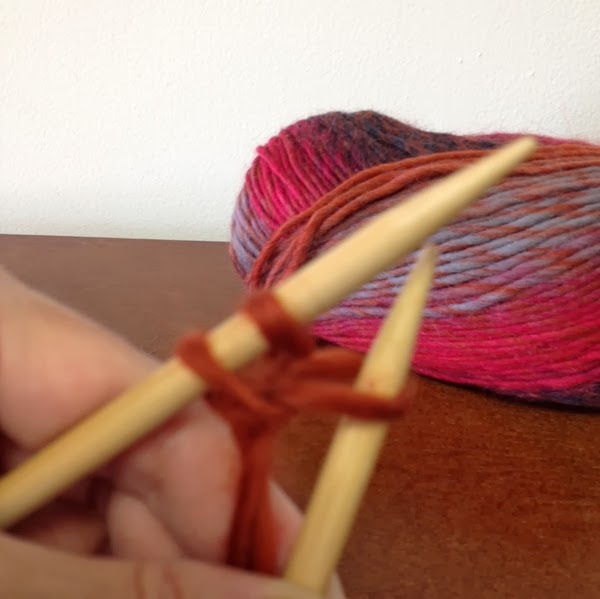
Step 3. Wrap the working yarn between the needles (as if to knit). Draw out a loop between these 2 stitches and place it back on the left hand needle.
Step 4. Drawing your loop between the last 2 stitches on the needle, as pictured above, until you have cast on the required number of stitches.
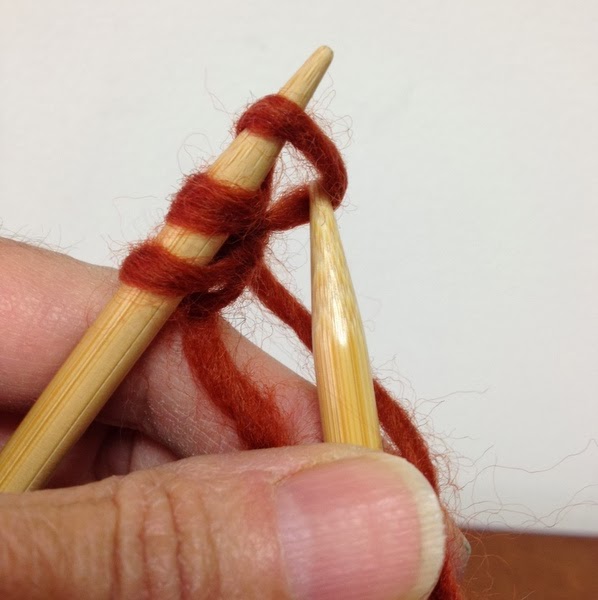
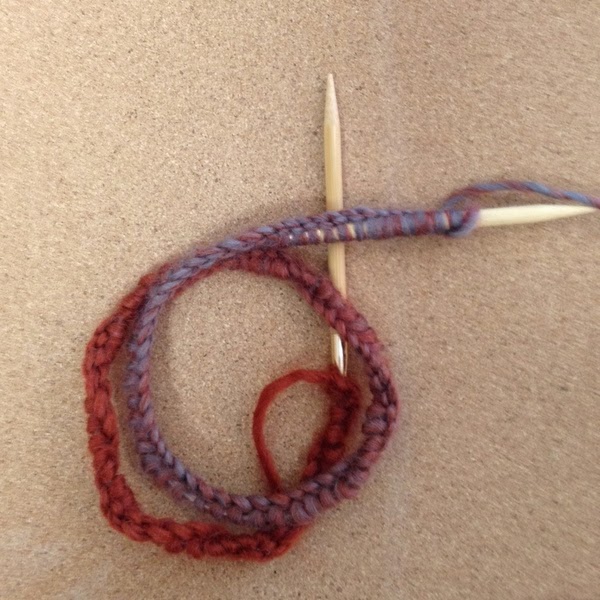
Step 5. Take a look at your cast on as it grows? Can you see the braided edge showing up yet? When you have several stitches cast on your edge will look very much like this.
Step 6. You’ll notice as you cast on each stitch your last stitch sits at an angle. This is exactly how it should look and this angle is what creates the braid.
“The secret to a cable cast on is to do it a little loosely so your first row moves easily off the needles.”
You are now ready to turn your work and begin knitting your project!