How to Stop Curled Edges in Your Knitting
How to Stop Curled Edges in Your Knitting
We've all worked projects that no matter how many rip-outs, or how hard we've tried, have inconsistent/unattractive or curling edges.
The culprit is usually overly soft yarn that causes the curling or inelastic fiber that make it difficult to stitch consistently causing lumpy edges.
An elegant and easy solution to both problems is the addition of a couple of selvedge stitches at either edge.
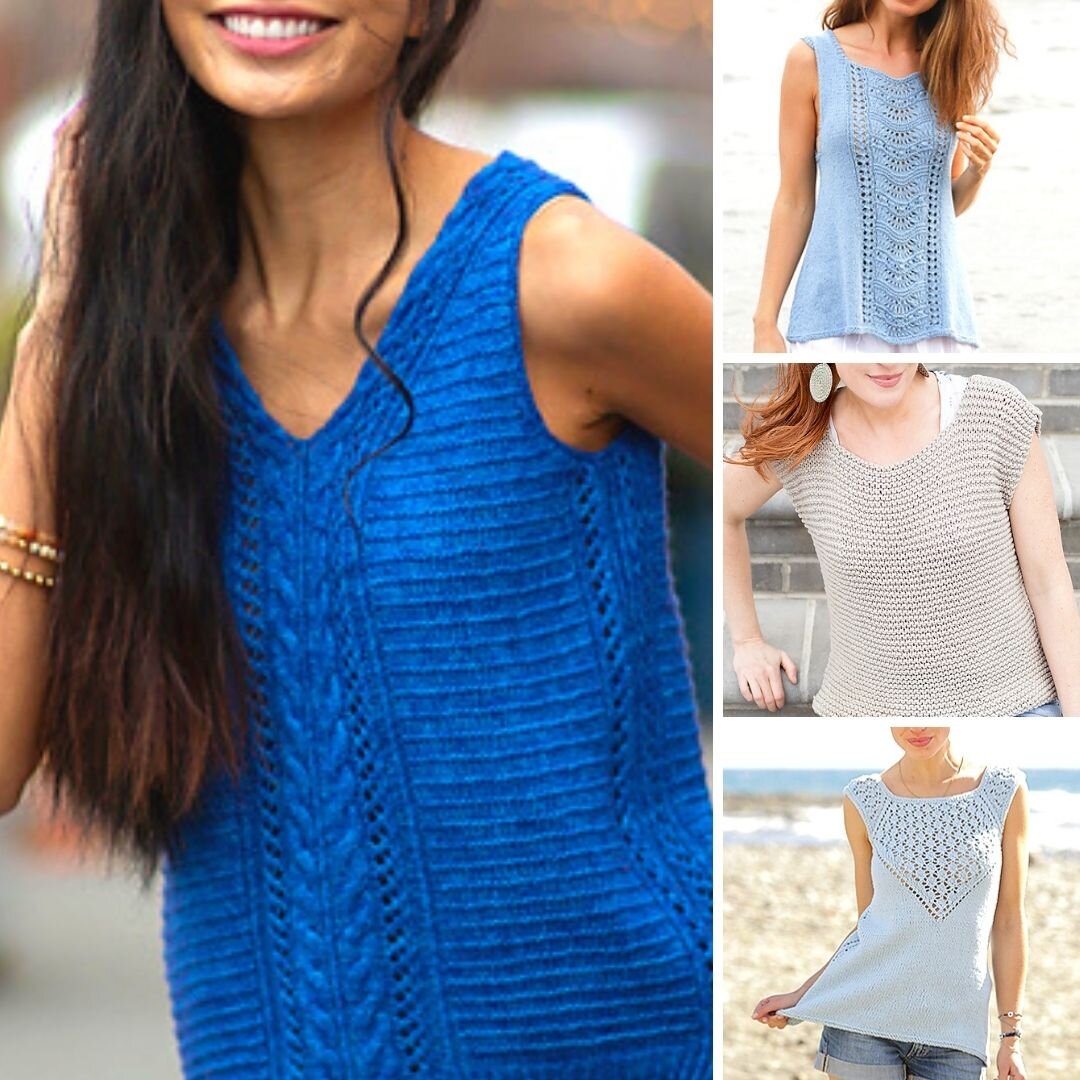
Because they do add such a finished look you'll see designers incorporate this feature often on shawls, cardis, and scarfs.
Try it yourself, its easy and I'm sure you will love the look.
How To Add Selvedge Edges
I’ll show you how to do this in just TWO steps!
For this project, I'm using 3 stitches at each end.
You can also work more or less depending on how wide you would like the edging.
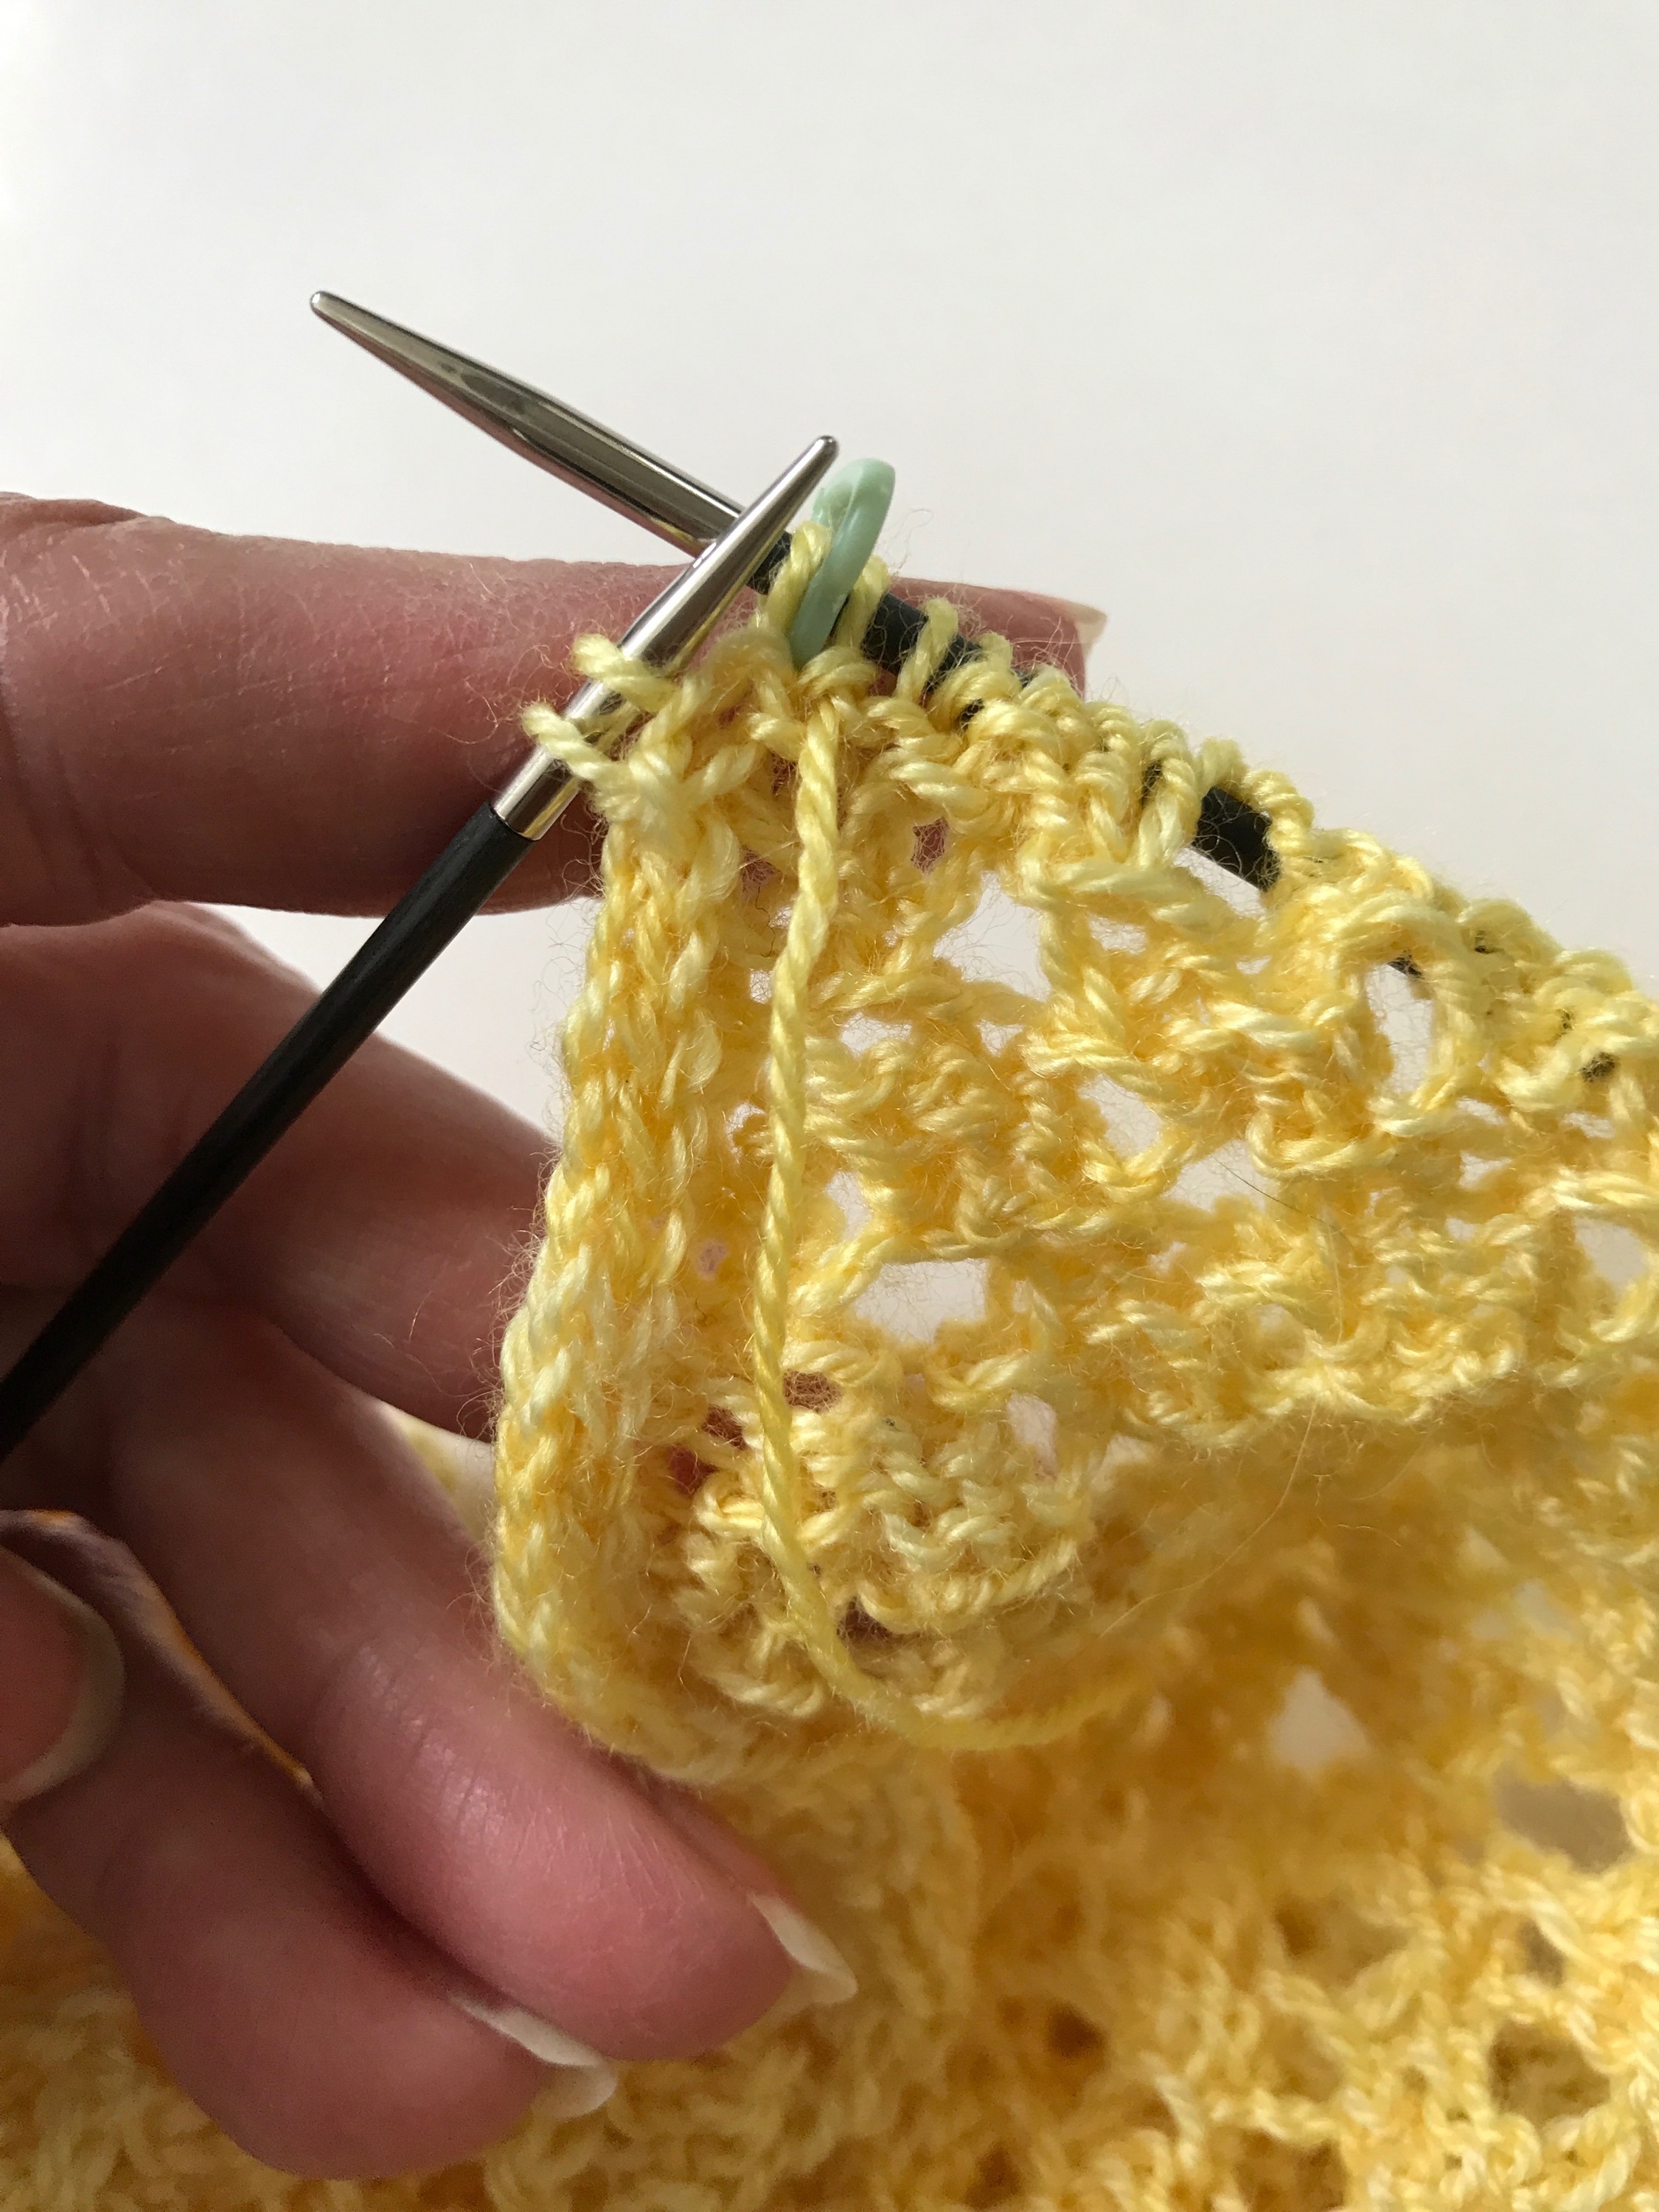
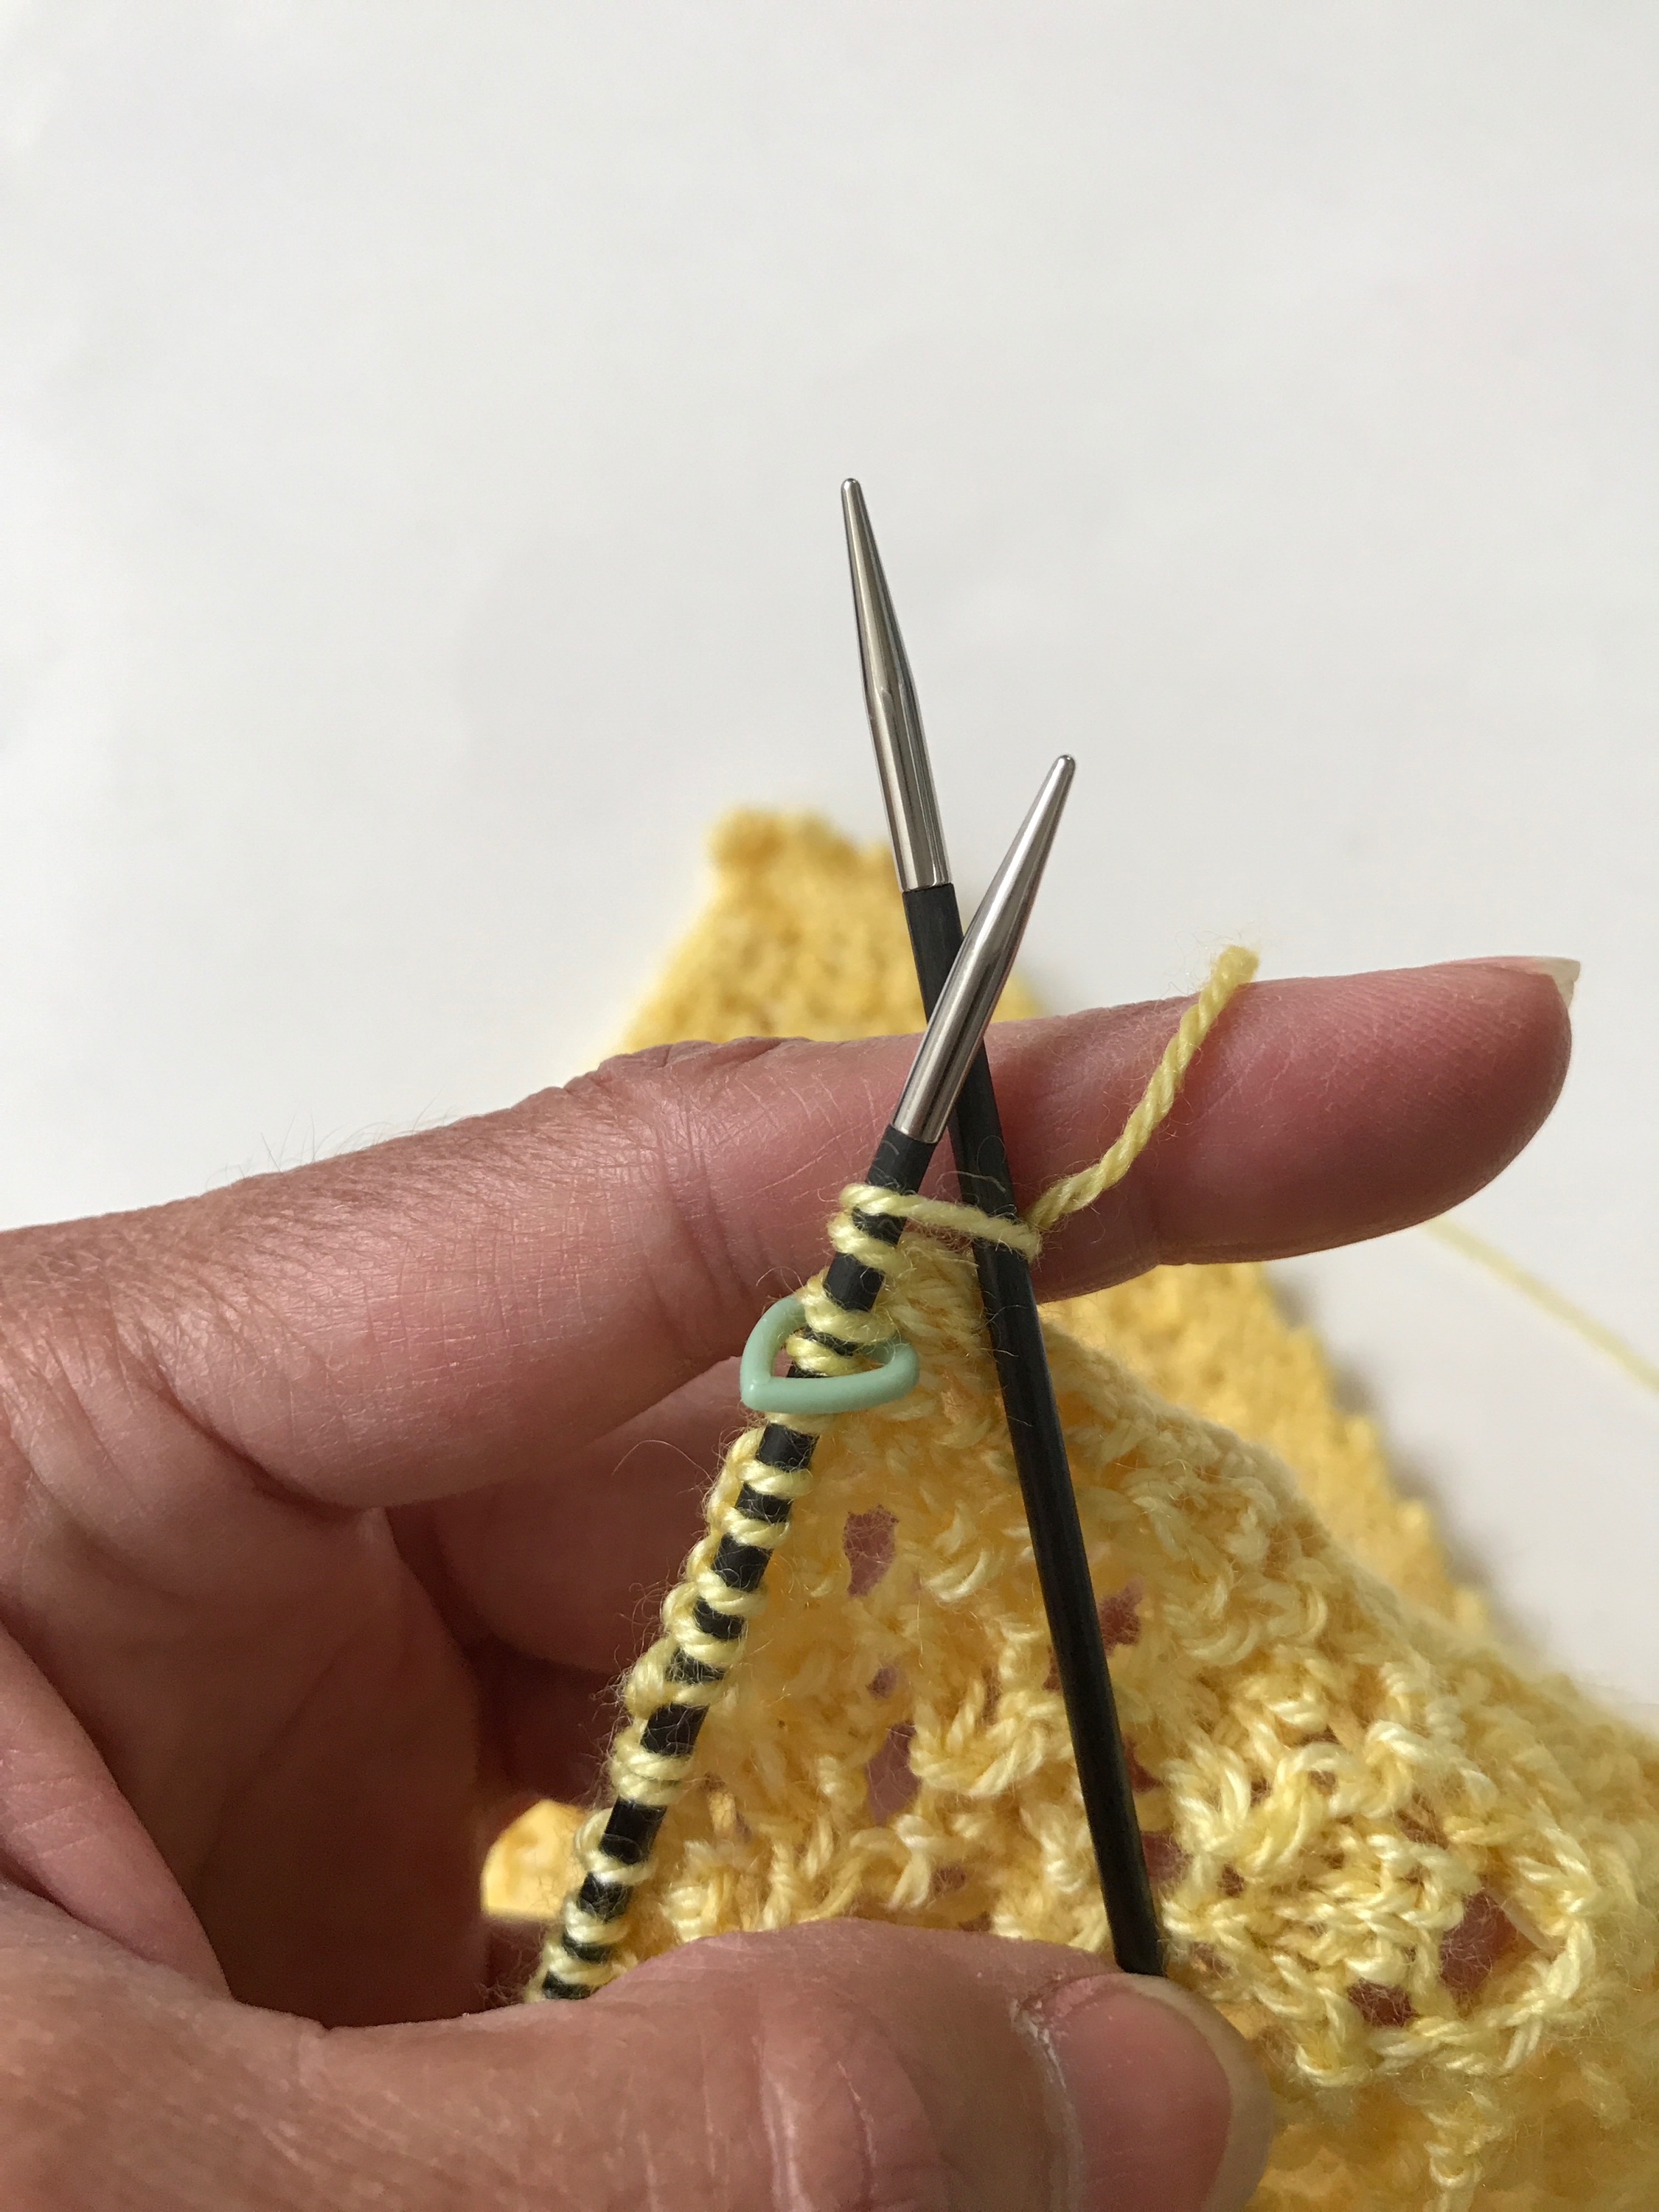
Step 1: Work across the row until the last 3 stitches, yarn forward (as if to purl) and slip the last 3 stitches from the left hand needle to the right.
Step 2: Knit the 1st 3 stitches, work across the row, move the yarn forward and slip the last 3 stitches just as you did in Step 1.
That's all there is to it. Merely continue Steps 1 & 2 throughout the project and you will be rewarded with beautifully finished edges.

Selvedge Edge Bonus
Selvedge edges when worked properly appear and function very much like an i-cord making this the ideal location to join a new yarn ball. Weaving in the yarn tails then becomes a cinch. Hide those tails in the corded edge.
Happy knitting,
Donna, the Knitting Doctor