
How to Remove the Stair Step Effect on Knitting Projects

How to Make Your Increases/Decreases Look Flawless
As you improve your knitting prowess and move from making flat scarfs and cowls onto bigger projects that entail shaping you'll want to know about this tip.
It's really easy and you'll be rewarded with professional looking results.
Whether its shaping a shoulder (increasing) or a neckline (decreasing), most patterns typically place shaping stitches somewhere near the ends of the row, or may not tell you where to place them at all.
That often has the effect of giving your piece that stair step look.
But how about if we change where we work those stitches?
How would that look?
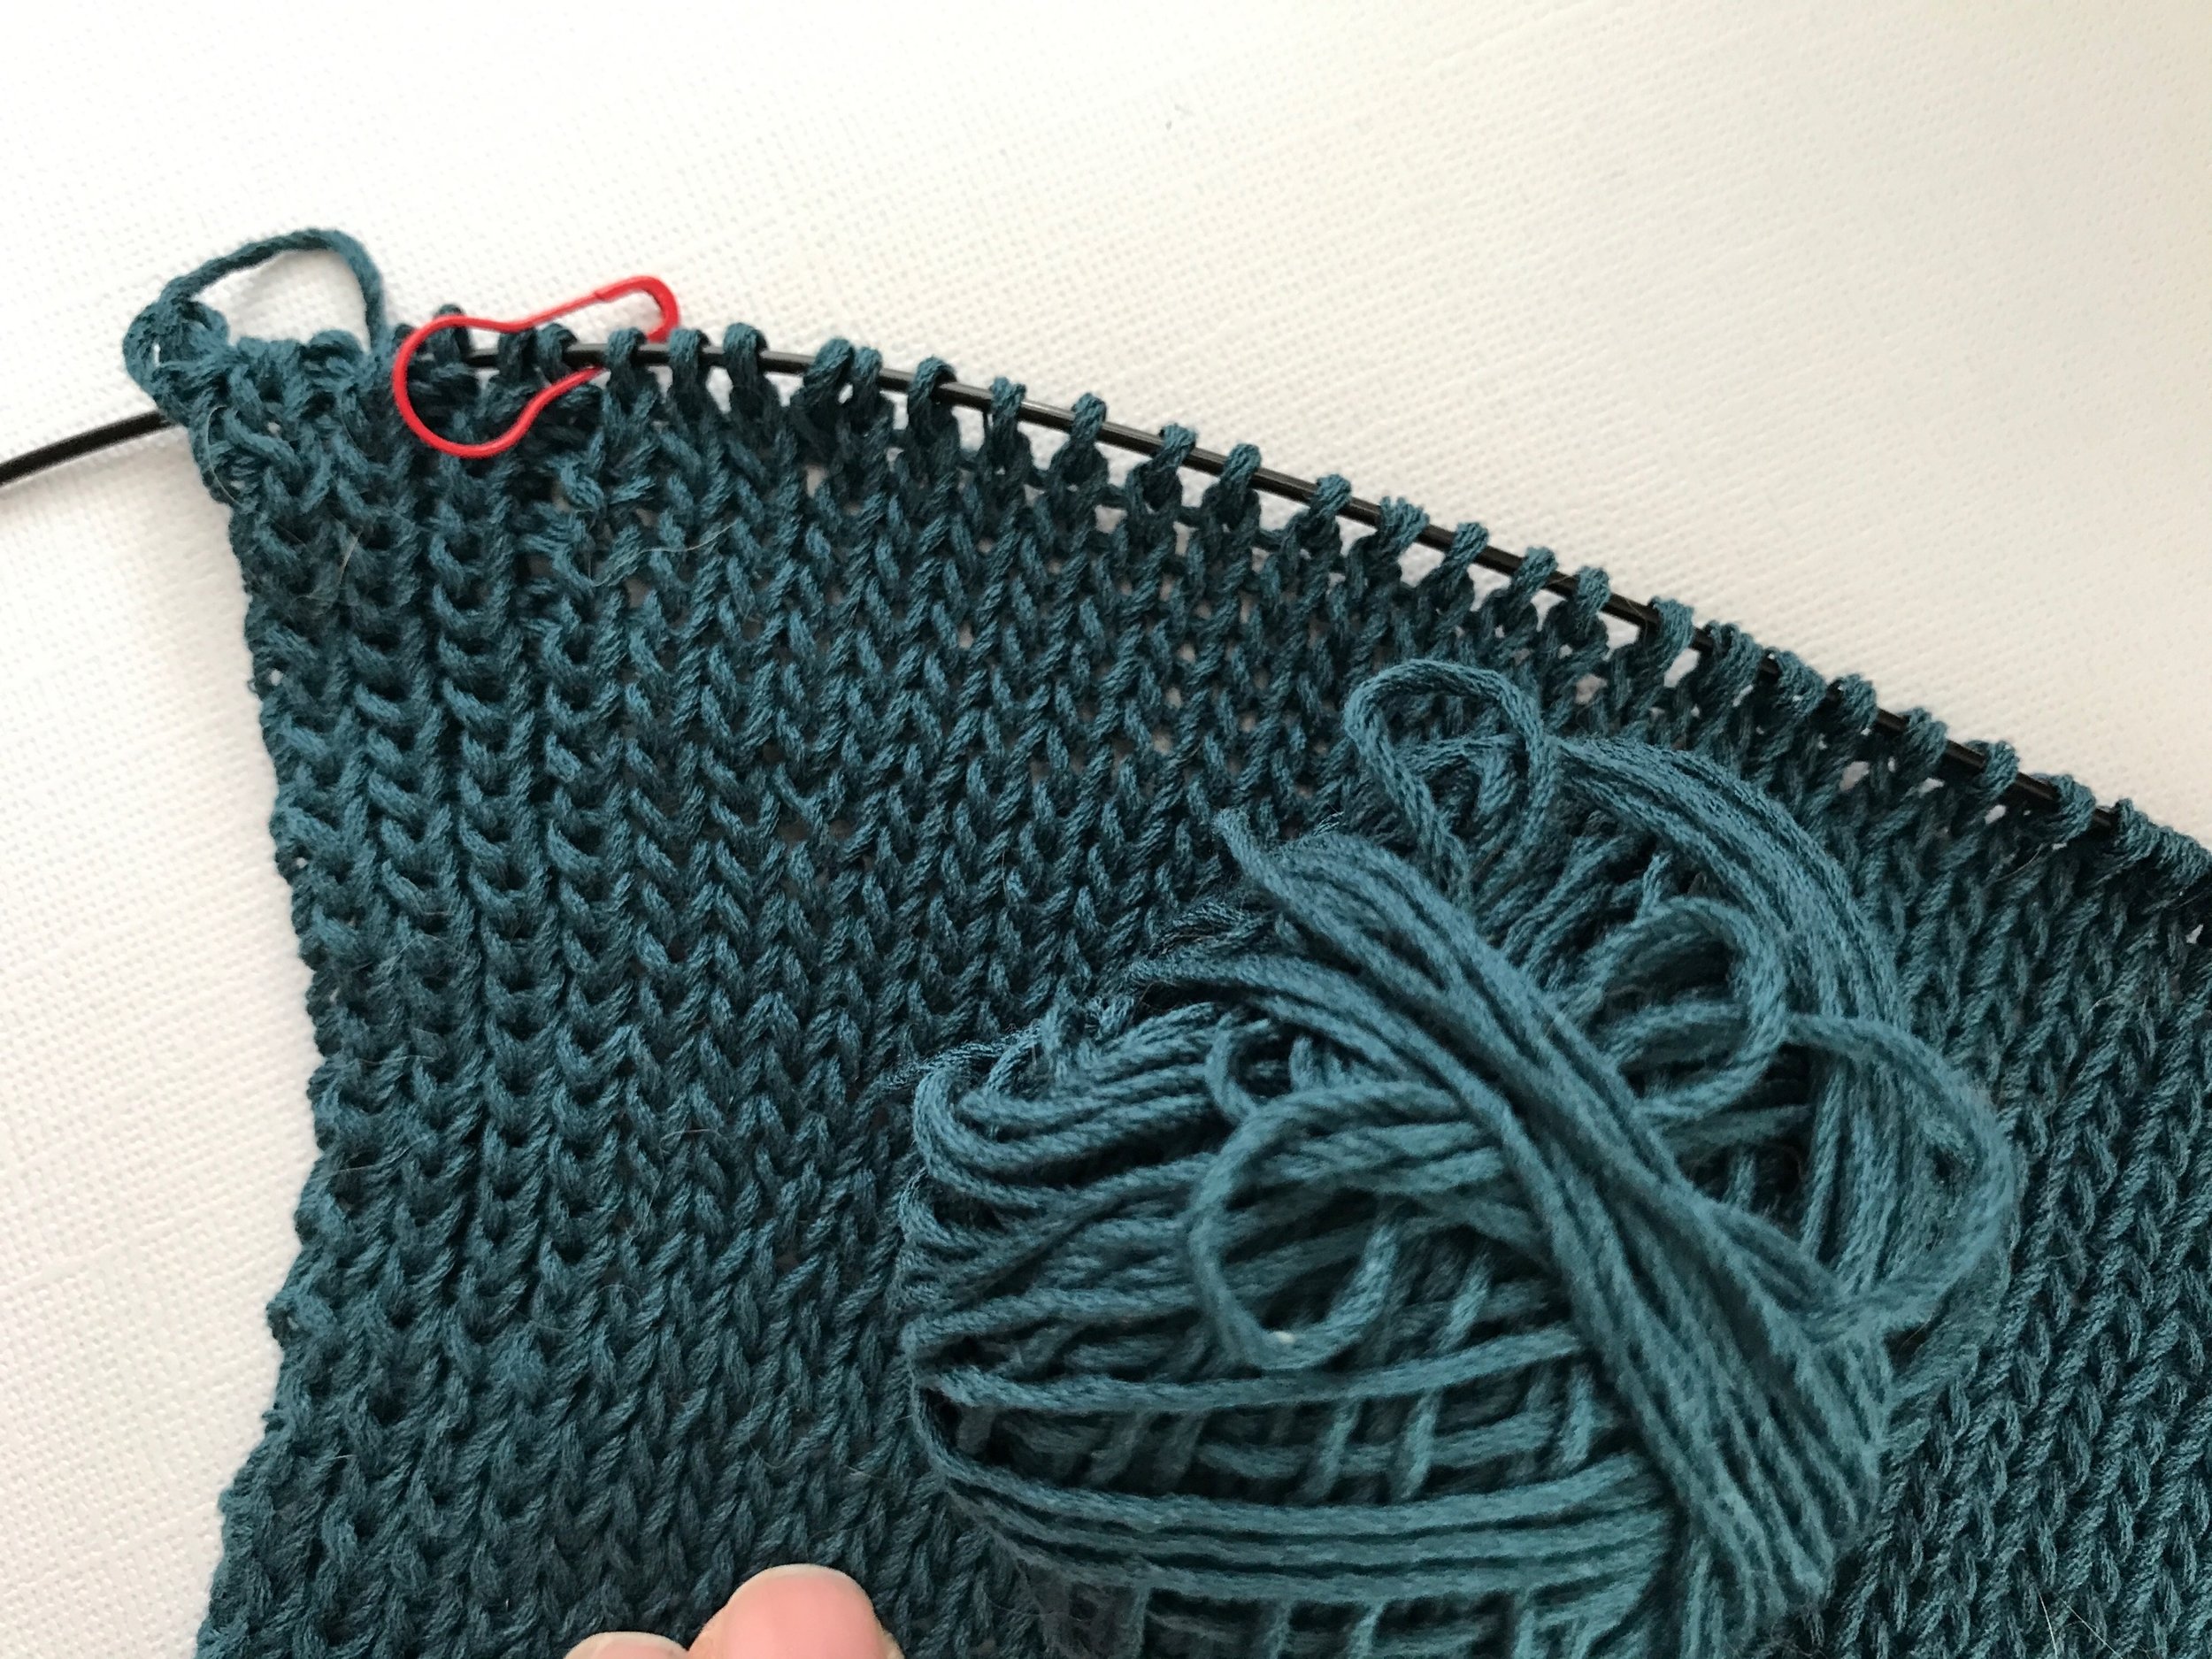
Shoulder increases moved 3 stitches in from the edge
Neckline decreases moved 3 stitches in from the edge
A Small Change In Placement Makes A Big Difference
Here I'm working neckline and shoulder shaping at the same time but instead of working my increases and decreases on the edges, I'm working them 3 stitches in.
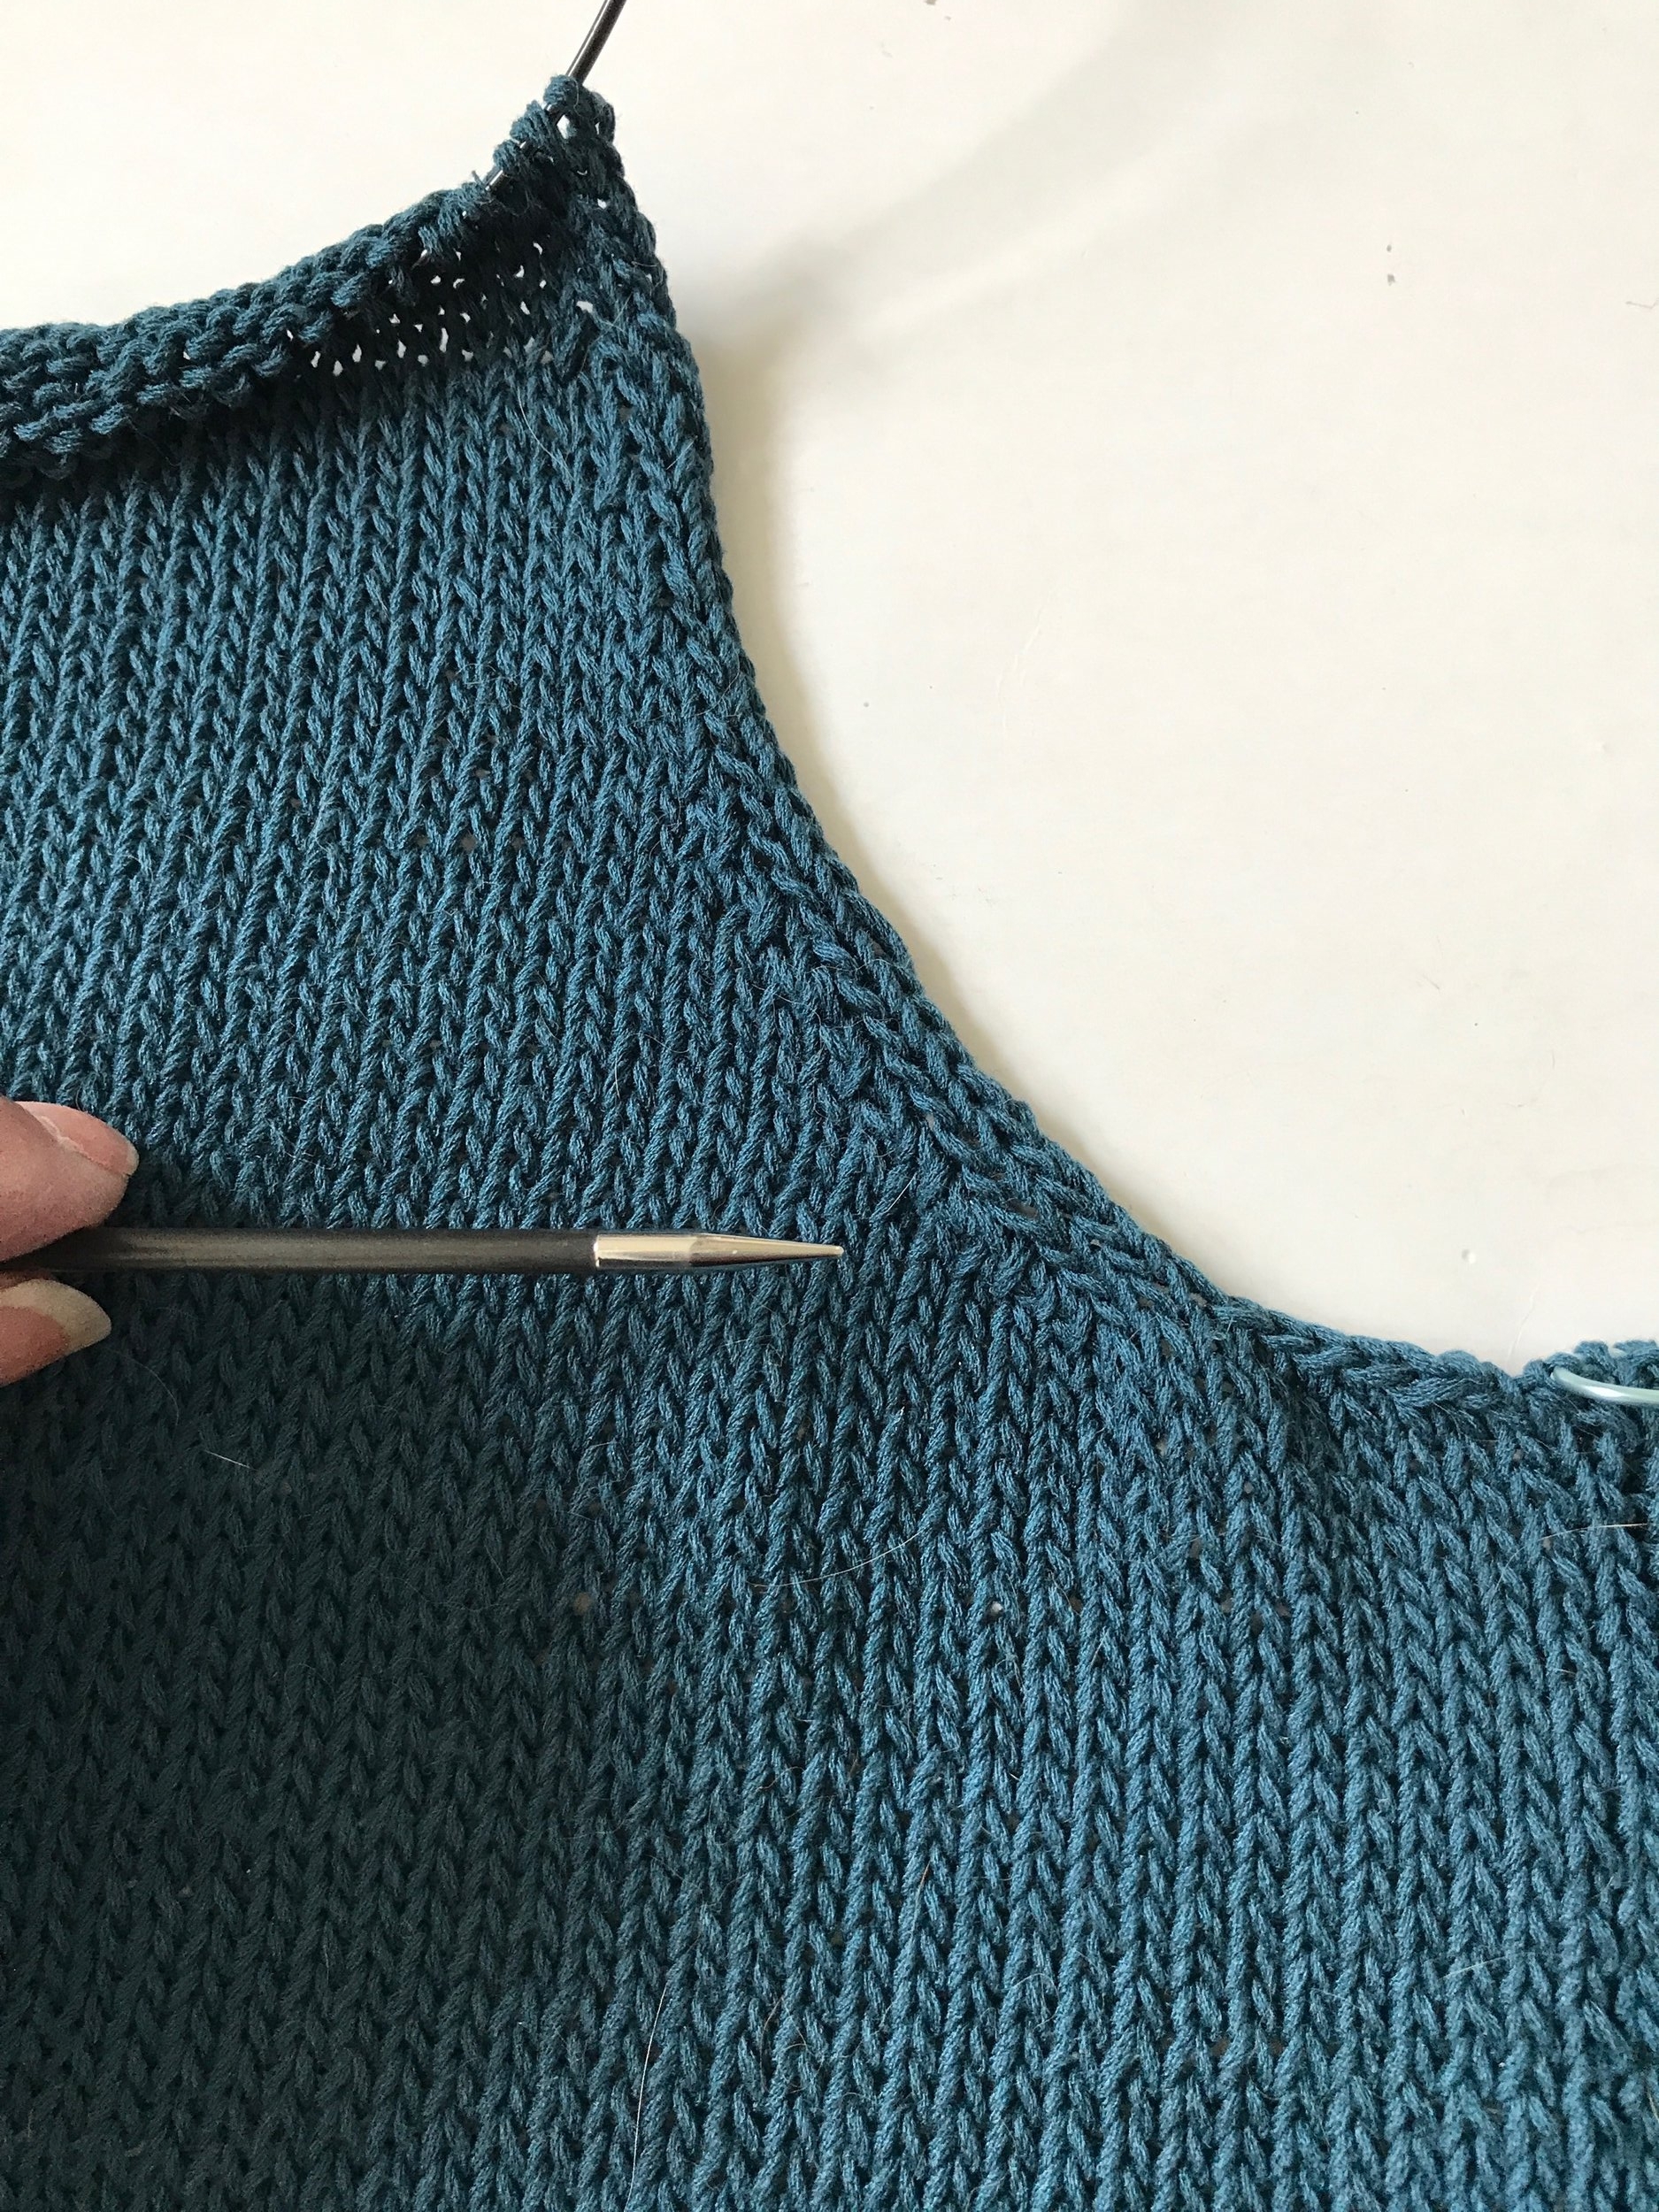
Look at the difference.
My shoulder increases have a pretty fan shape and my neckline decreases have created a nice welted edge.
The best part, no more stair step effect on the edge - it's now nice, clean, and very professional!
Try this trick on your next shaping project. You'll love the results!


