Stretchy Bind Off
Why Use A Stretchy Bind-off
One of the peculiarities of knitting is that a good portion of the time knitters find that their bind-off is much tighter than their cast-on and a good match usually requires a larger needle.
But sometimes a larger needle still isn't quite enough and doesn't produce quite enough stretch.
Think about the tops of socks and maybe arm warmers.
Typically those accessories are constructed in a tube shape, whereas arms and calves widen which means adding that elasticity ensures a better fitting and attractive project.
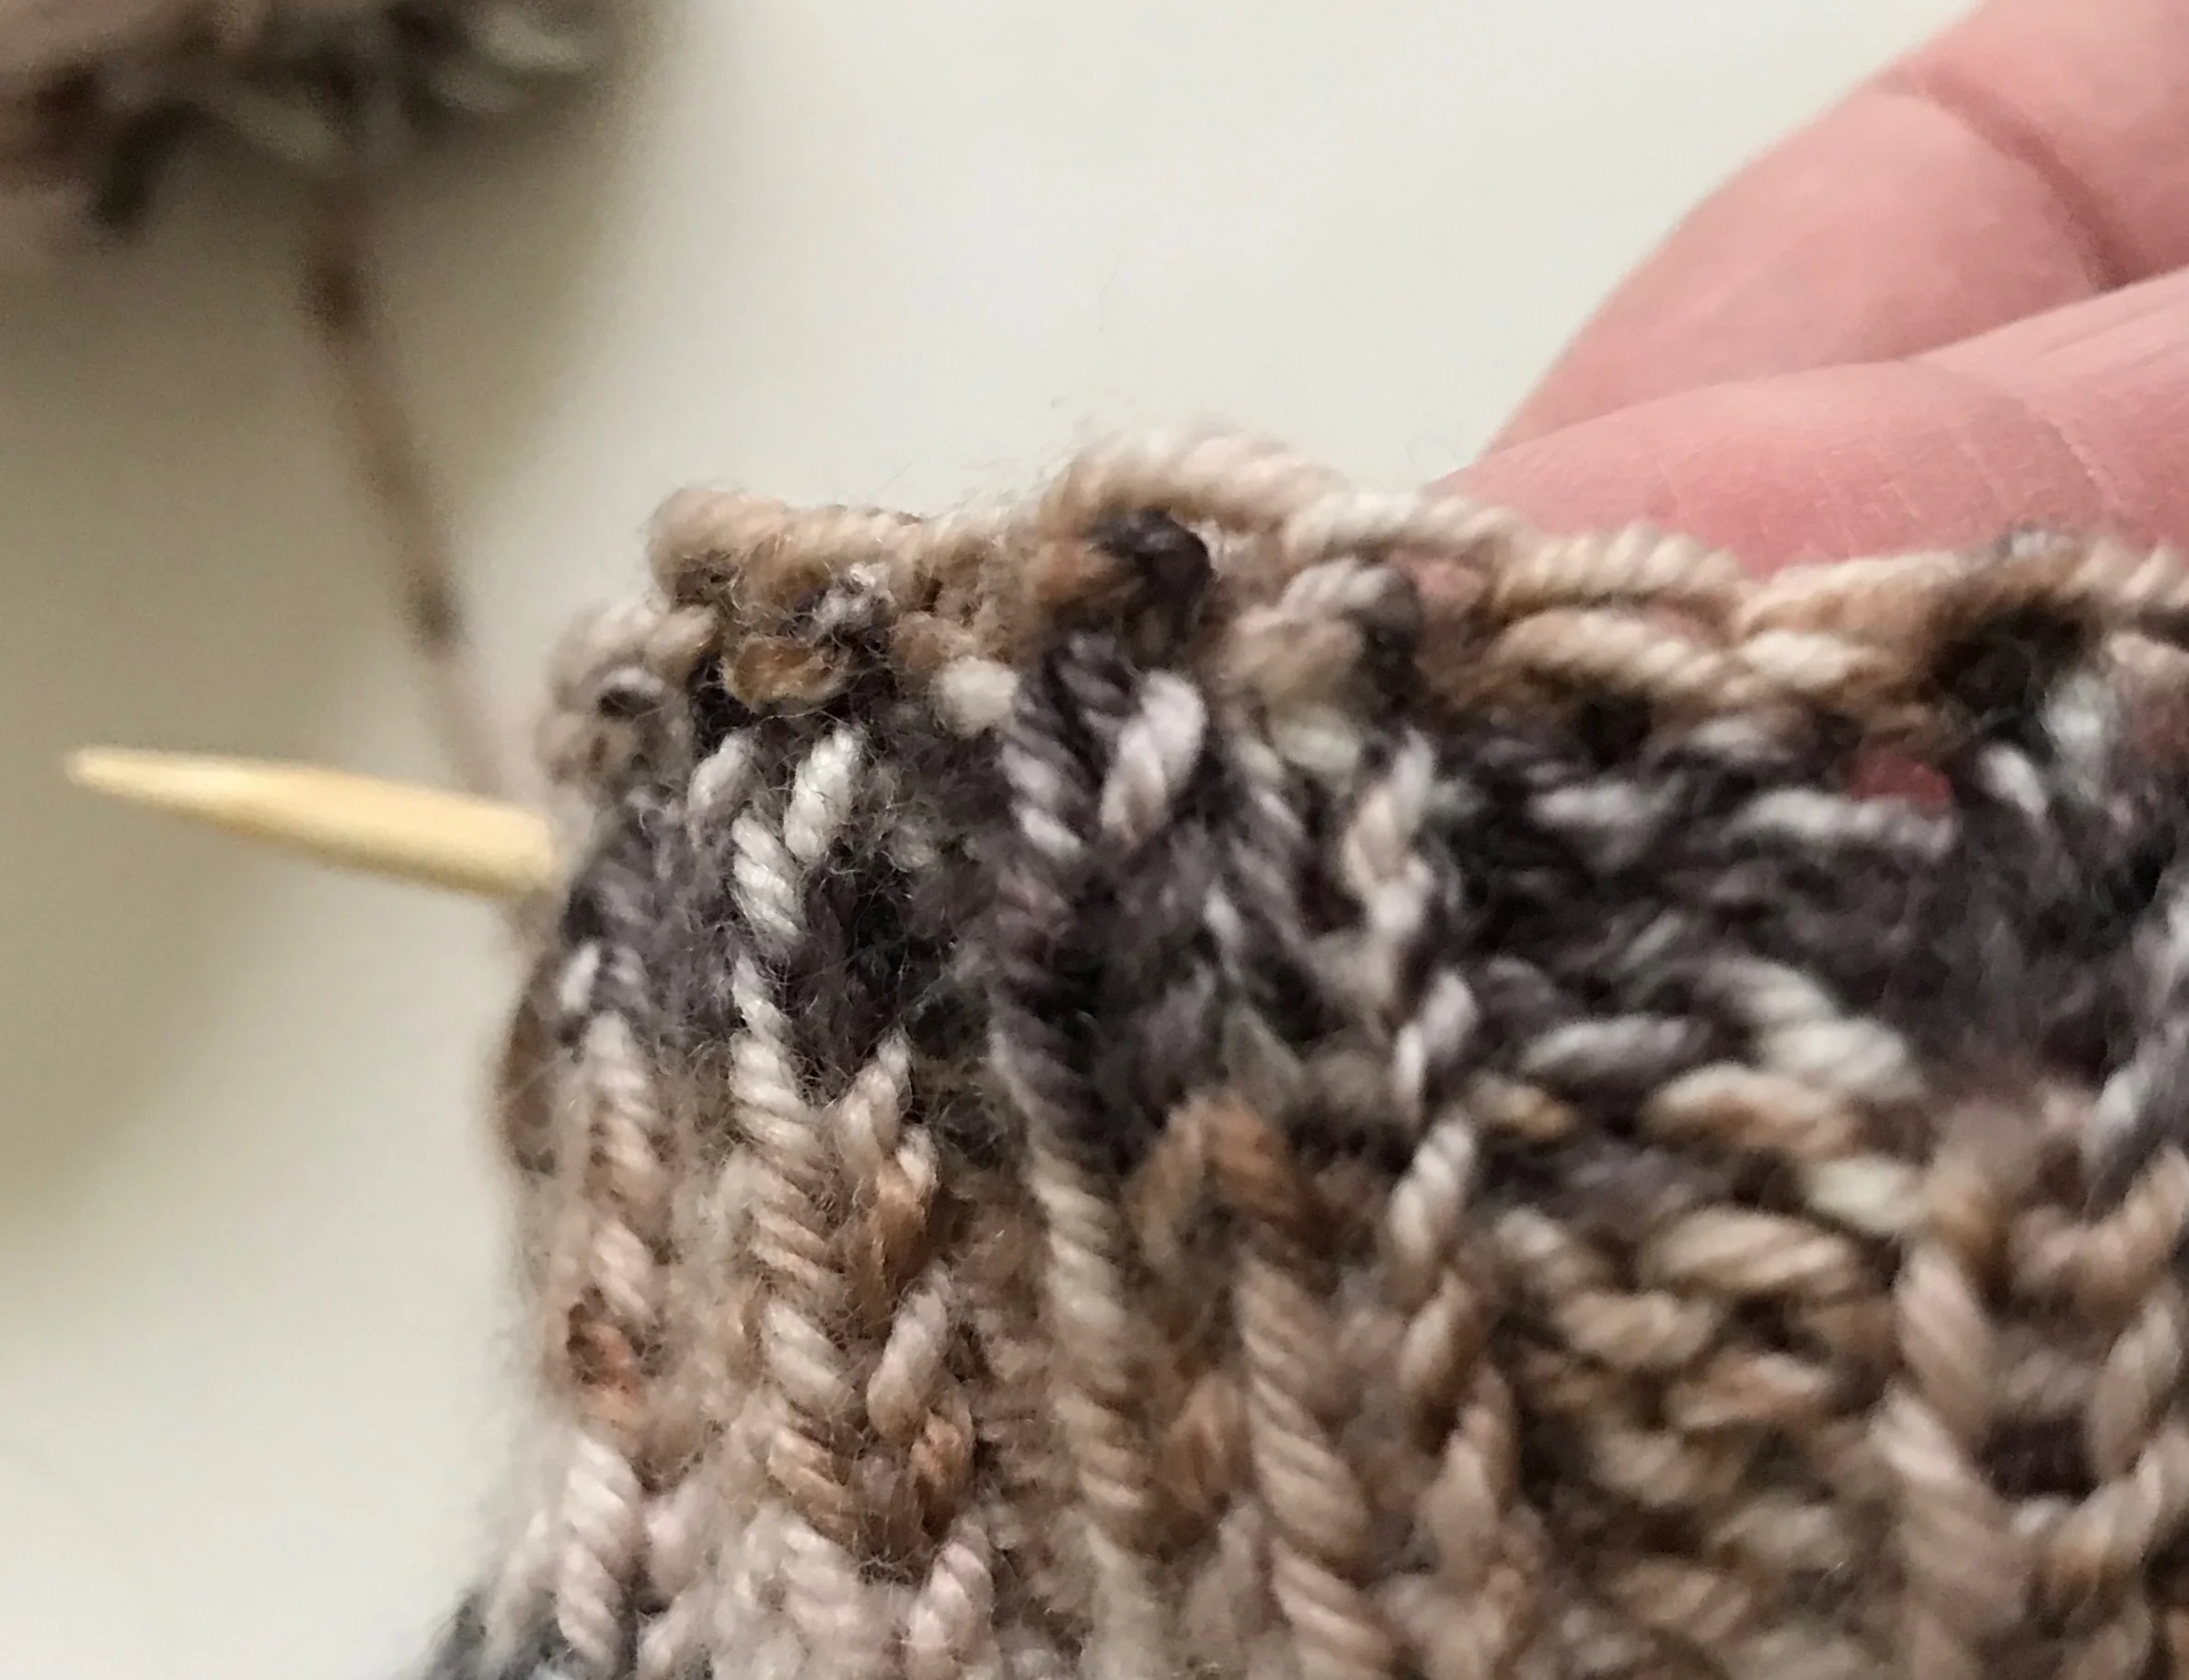
The bind-off I'm showing you is called Jeny's Surprisingly Stretchy Bind-off.
Developed by Jeny Staiman, it is one of the best and easiest bind-offs for those edges where you absolutely need stretch.
I also like it because it doesn't take long to learn and works equally well with rib or stockinette. Here's a video of it from Cat Bordhi.
How to Do a Stretchy Bind Off
For this tutorial, I'm going to be binding-off a k2, p2 rib.
The 1st Set Of Knit Stitches
1. * Knit the 1st stitch (only do this for the 1st stitch)
2. Reverse yarn over (see image below)
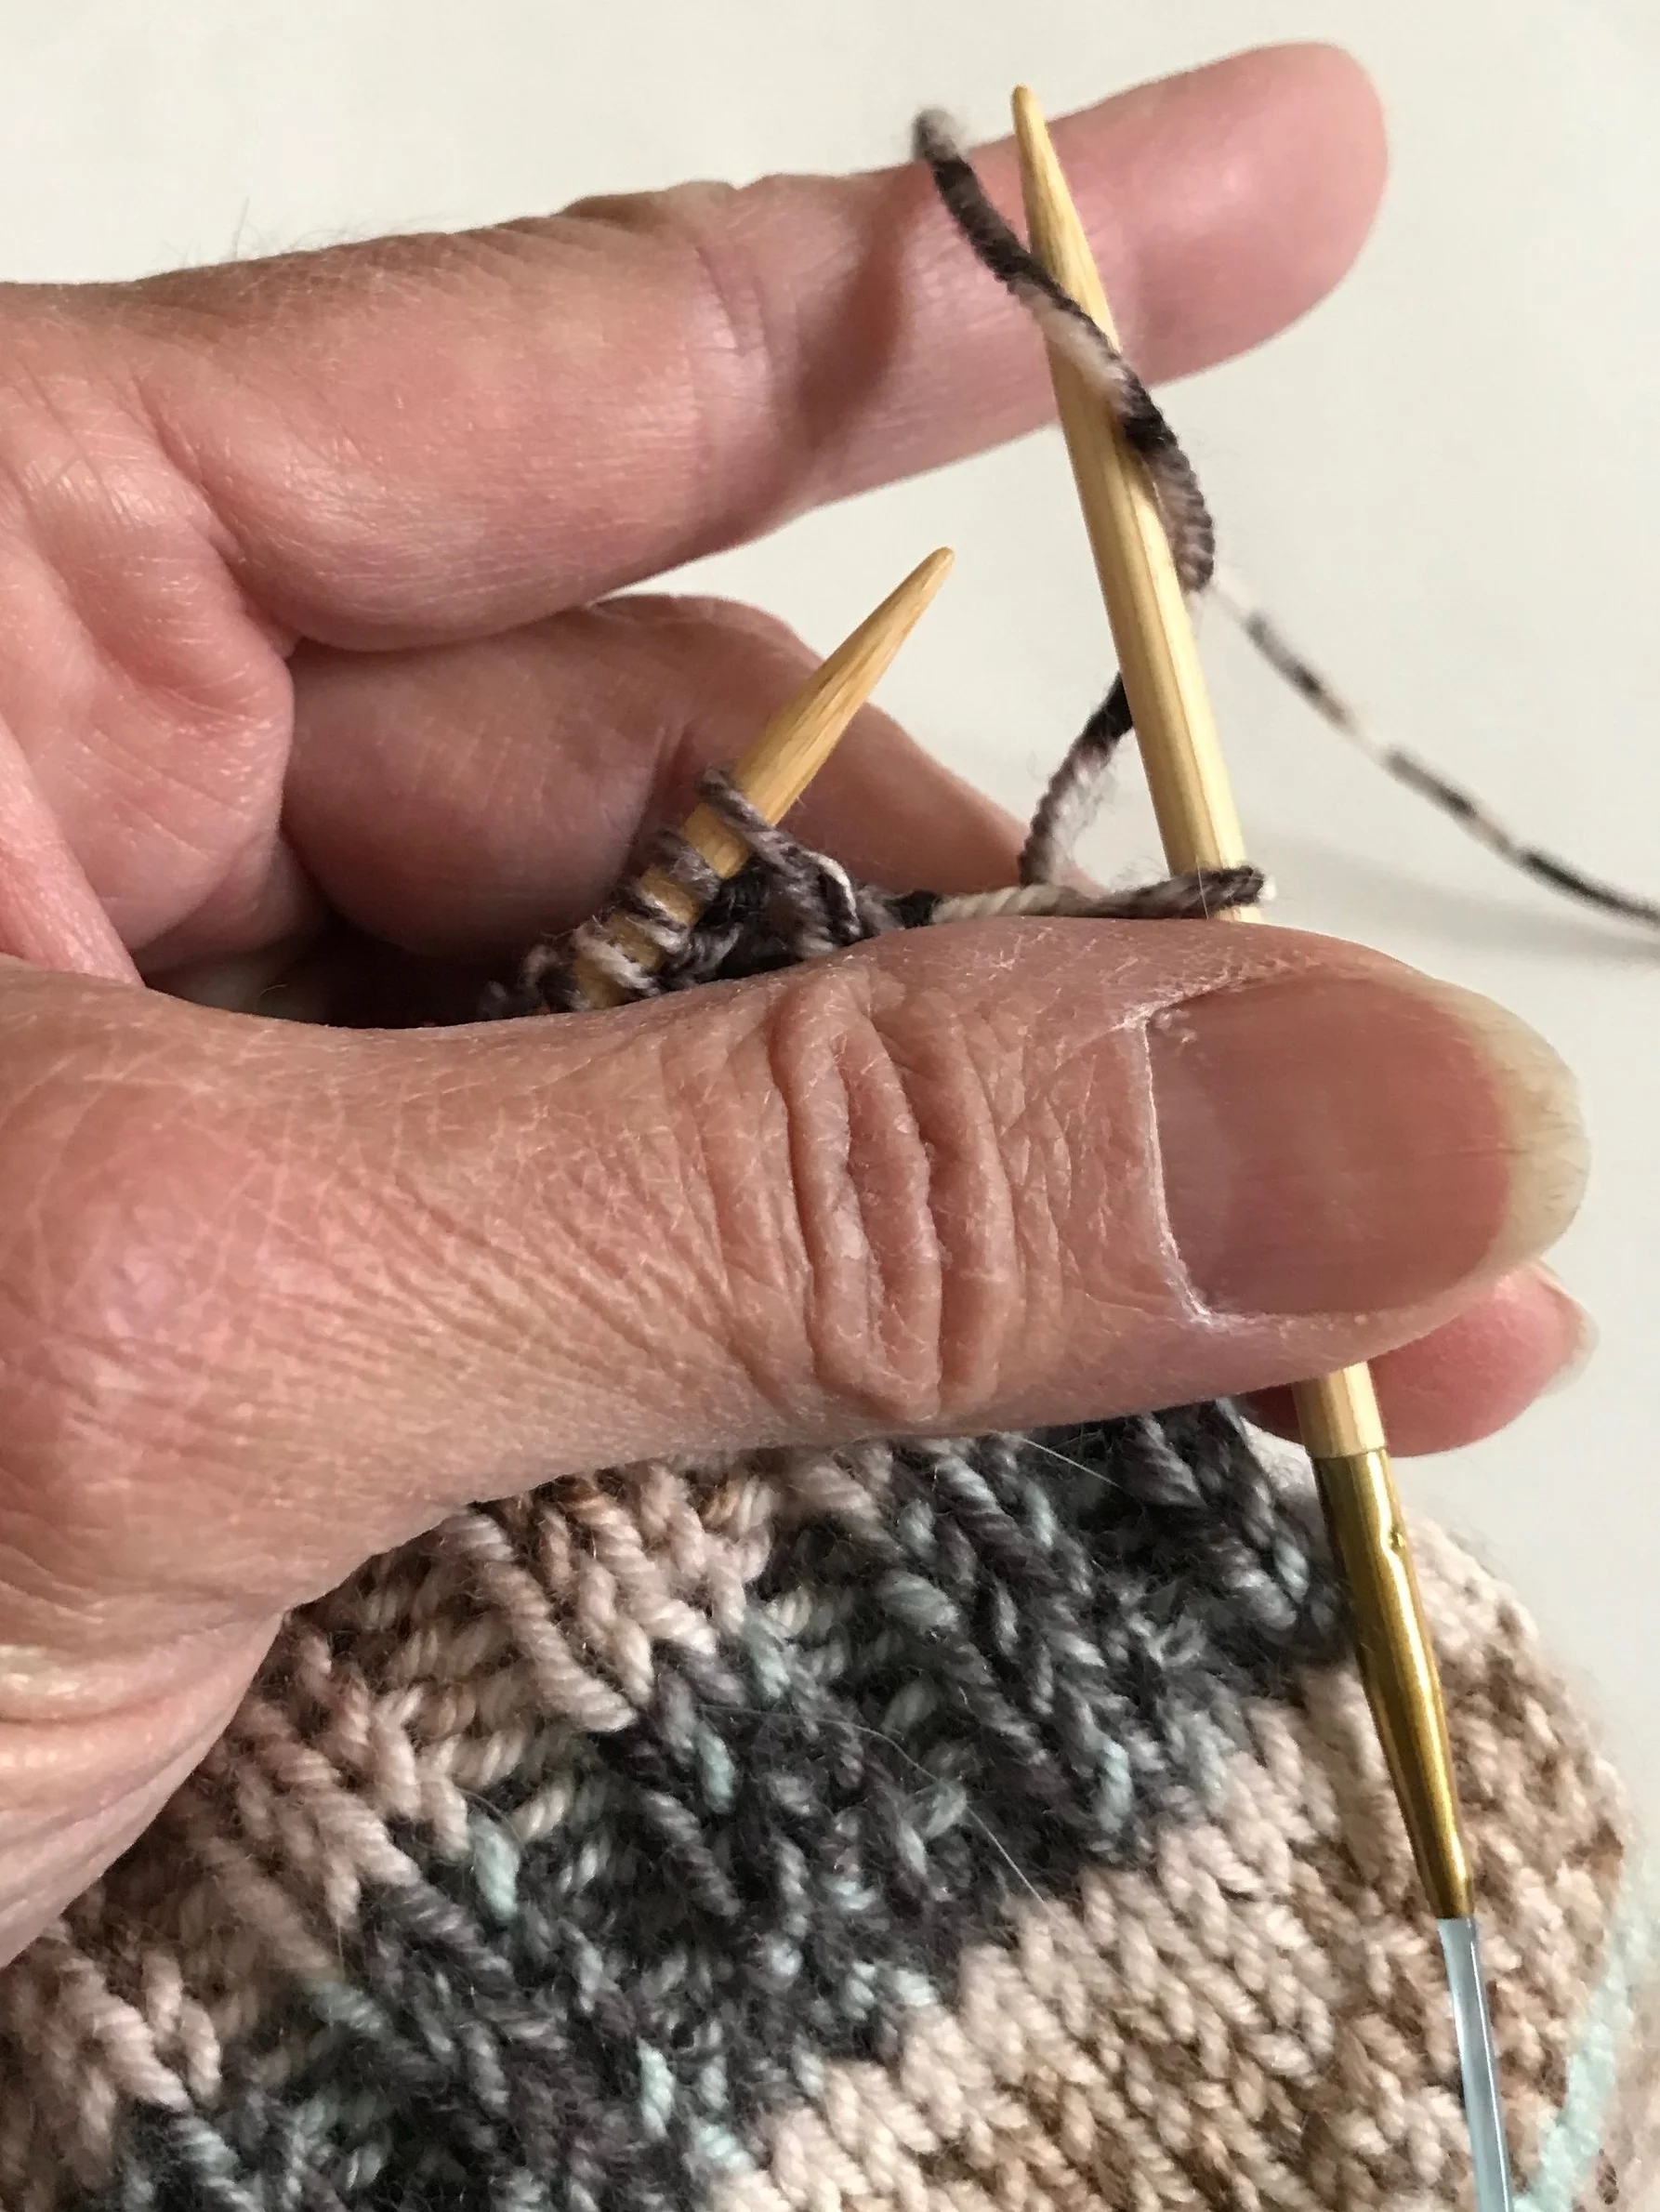
3. Knit the next stitch
4. Pass the 1st stitch and yarnover over the 2nd stitch
* You'll only do the knit 1 the first time around. All upcoming k2 sections follow steps 2 thru 4 only.
The Purl Stitches
1. Move yarn forward as you do when changing to a purl stitch
2. Standard yarnover (look below to see the yarnover before a purl stitch)
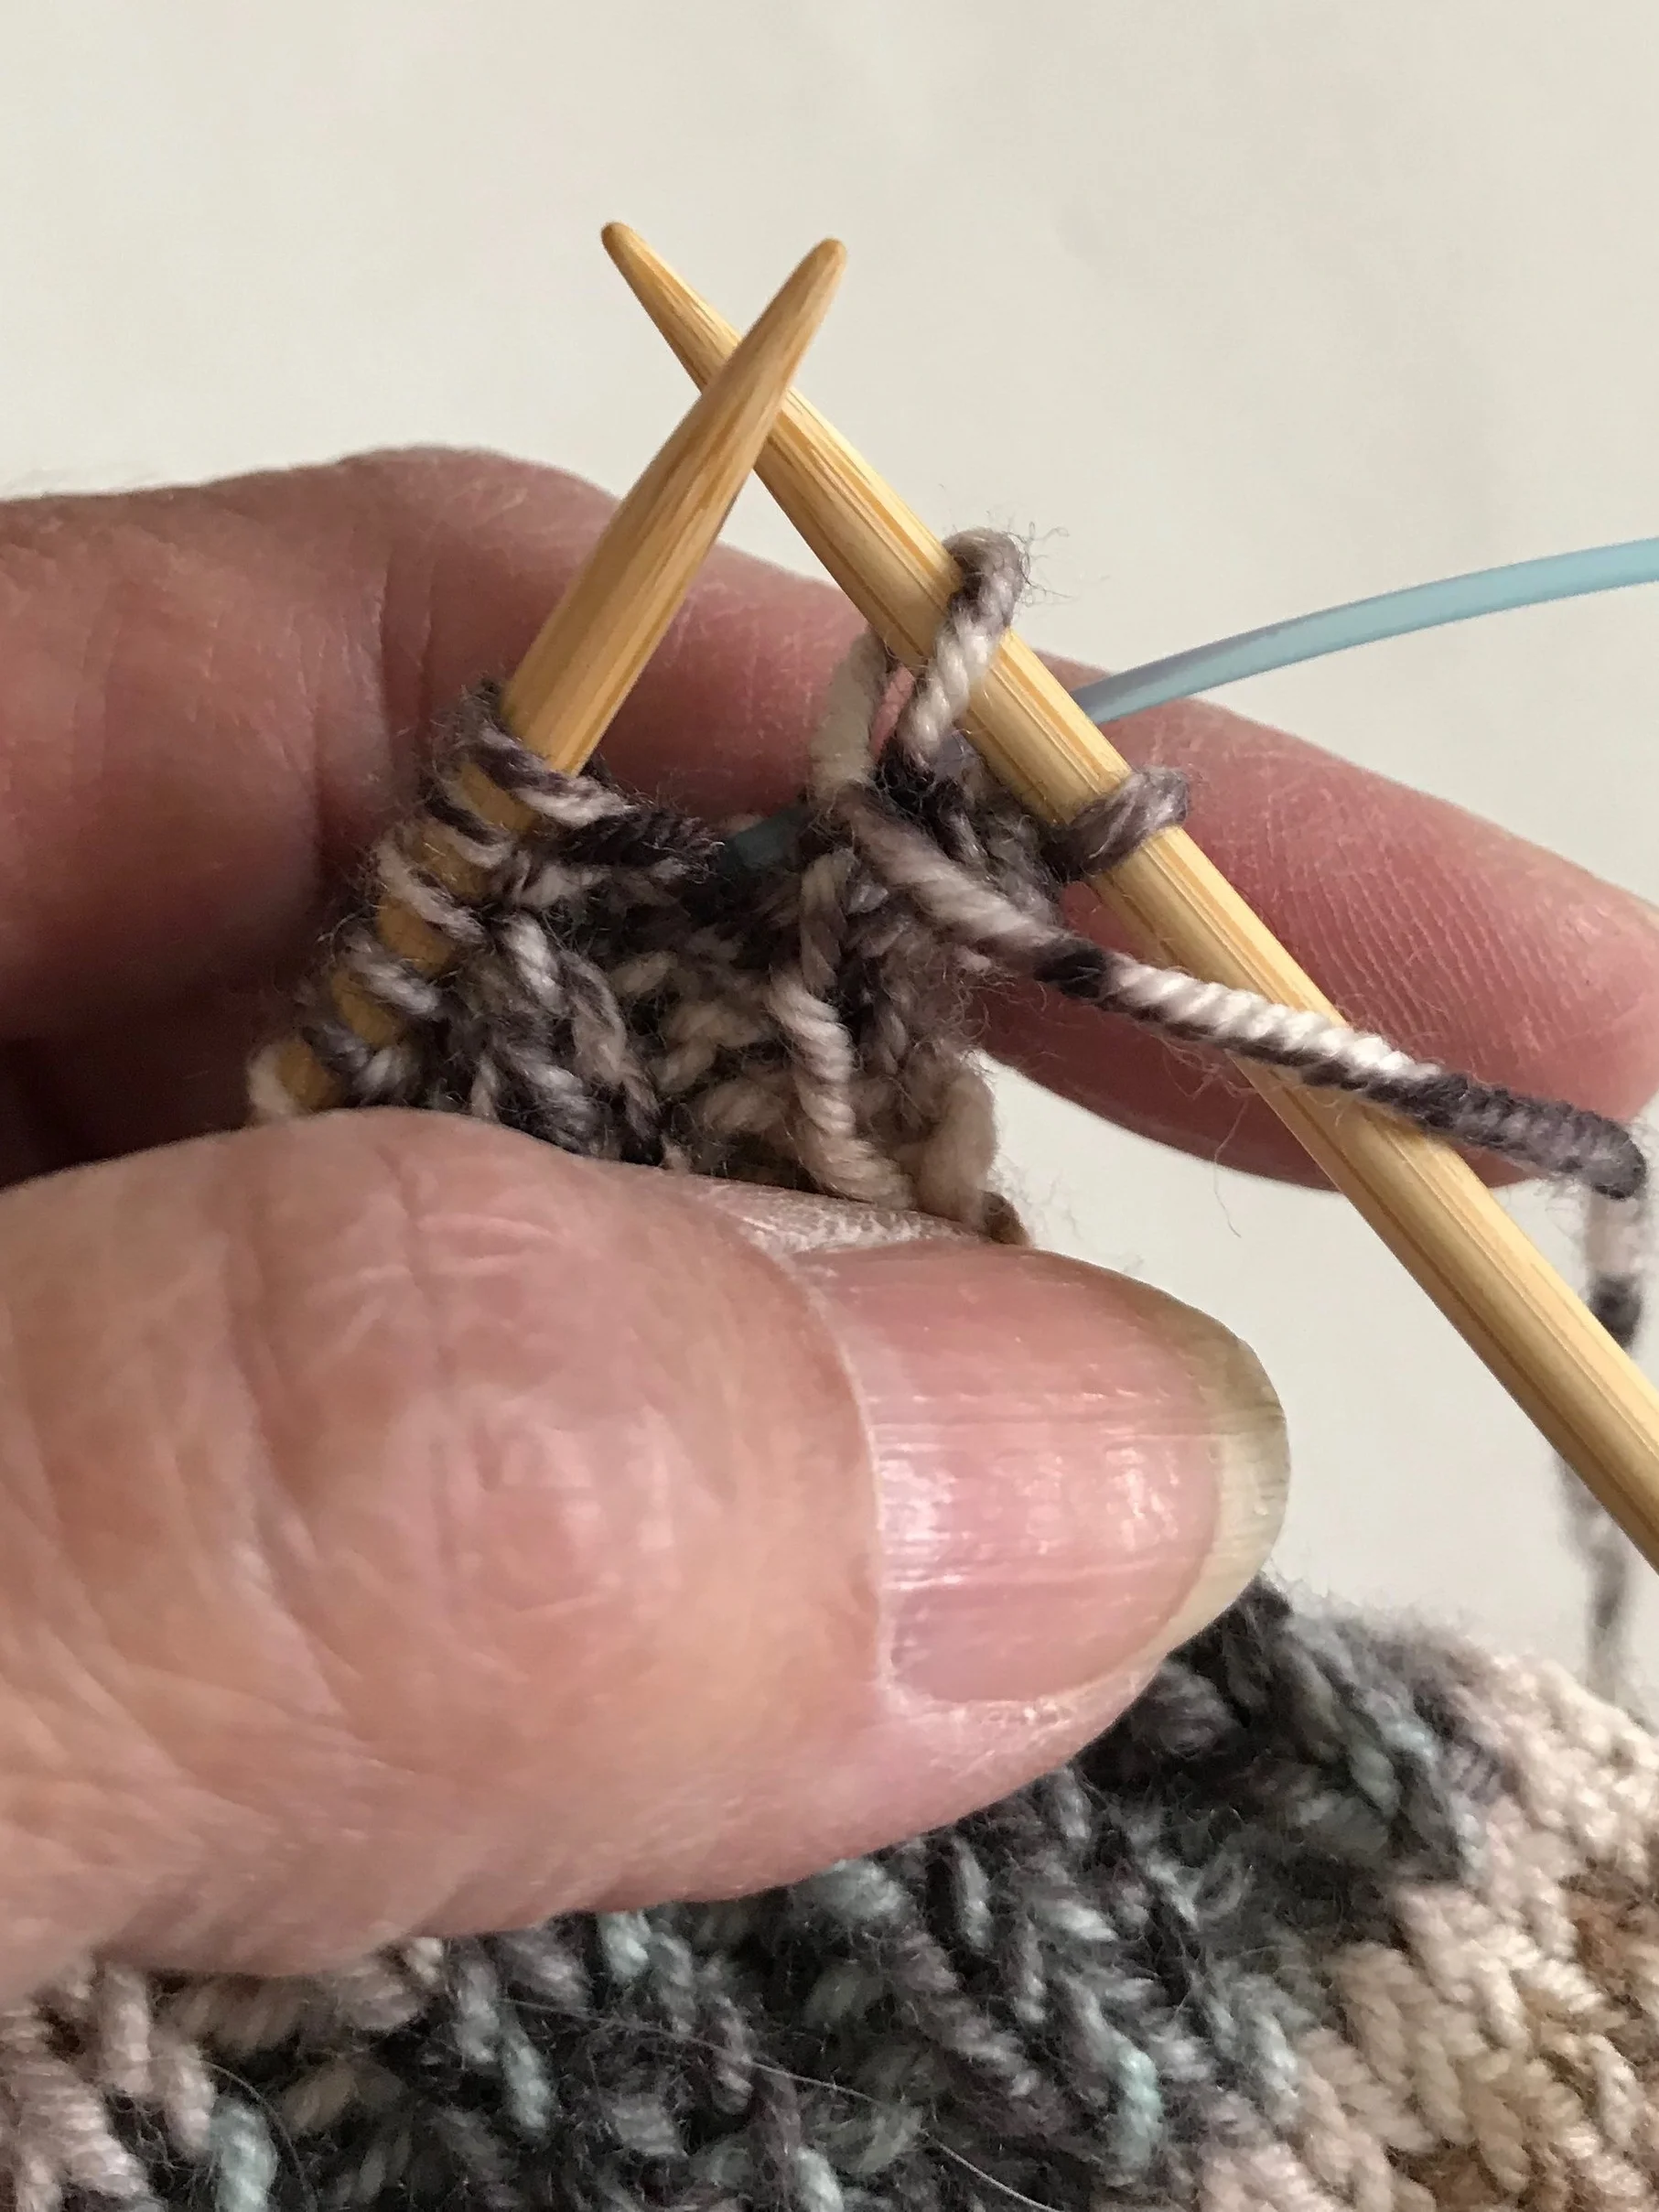
3. Purl the stitch
4. Pass the 1st stitch and yarnover over the 2nd stitch
5. Repeat steps 2 thru 4 for the next purl stitch
Move yarn back for the next set of knit stitches and repeat the knit stitch process as shown above.
That's all there is to it!
Want to give this knitting technique a try? Try the Zauberribs Arm Warmers Free Knitting Pattern